Introduction:
Windows 11, the latest version of Microsoft’s operating system, comes with several new features designed to enhance productivity and improve user experience. One of these features is the ability to view pictures as a slideshow. In this article, we will guide you through the process of setting up and viewing a picture slideshow on your Windows 11 device.
Step 1: Locate Your Image Folder
Before setting up the slideshow, you need to locate the folder containing your images. This can be done by opening File Explorer and navigating to the folder where your images are stored. If you’re unsure about the location, try checking common image folders such as Pictures or Downloads.
Step 2: Select Your Images
Once you’ve found your image folder, select all of the pictures you want to include in your slideshow. To do this, click on the first image while holding down the ‘Ctrl’ key on your keyboard. Continue holding ‘Ctrl’ and clicking on each subsequent image until all desired pictures are selected.
Step 3: Access Options in Windows 11 Photos App
With your images selected, right-click any of the selected files. From the context menu that appears, hover over “Open with” and then click on “Photos.” This will open all the selected images in Windows 11’s Photos app.
Step 4: Start Your Slideshow
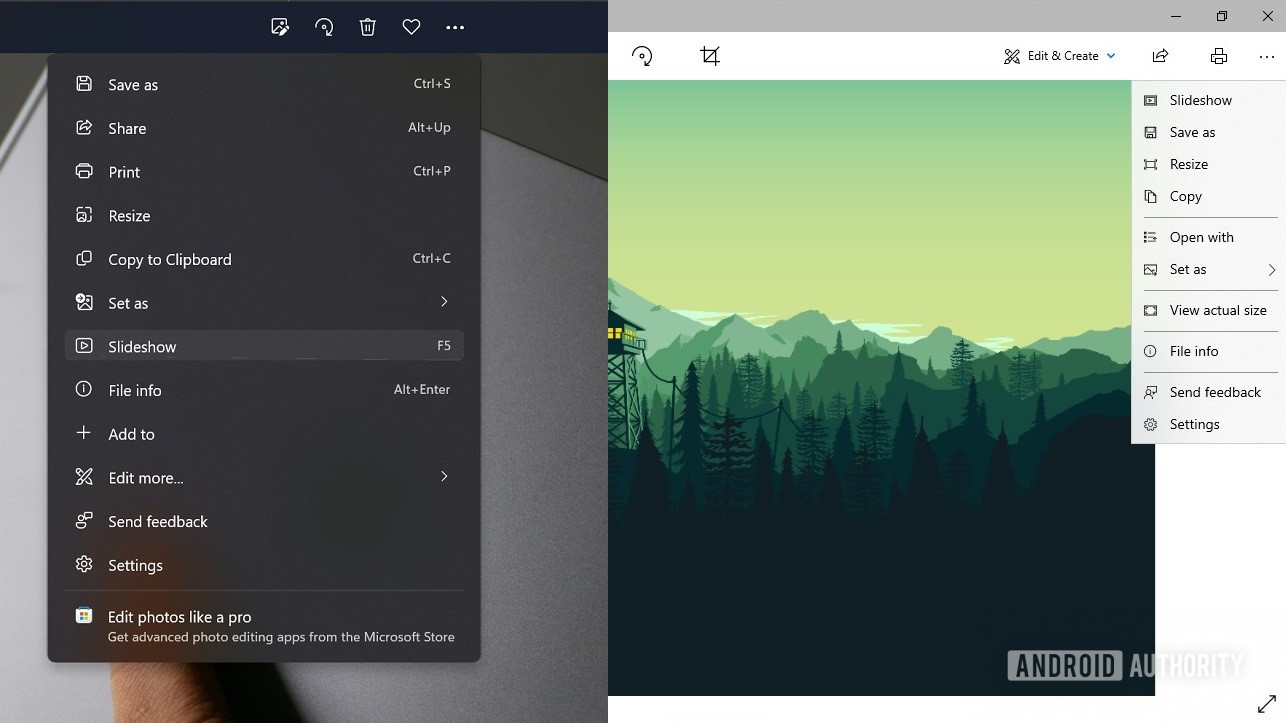
In the Photos app, locate an icon with four small squares at the upper right corner of the window; this icon represents multiple photos being displayed together. Clicking on this icon will display a menu with various options for controlling how you view your images. Select “Slideshow” from
this menu to begin playing your picture slideshow.
Customizing Your Slideshow Settings:
If you wish to customize settings for your slideshow, such as changing transition effects or setting a specific display time for each photo, follow these steps:
1. Open the Settings app on your Windows 11 device.
2. Click on “Personalization,”
3. Locate and click on “Background” under the Personalization settings.
4. Under the “Choose your picture” option, click on the drop-down menu and select “Slideshow.”
5. Click on “Browse” to select the folder containing the images you want to use in your slideshow.
6. Customize other options such as the time interval between images and whether or not to shuffle the slideshow.
Conclusion:
Viewing pictures as a slideshow in Windows 11 is a simple and straightforward process. With just a few clicks, you can transform a folder of images into an engaging visual presentation. Whether you’re sharing photos with friends, family, or using them for professional purposes, this feature makes it easy to showcase your visual content in an organized and appealing manner.