Introduction:
Bubble letters, also known as balloon letters, are a fun and creative way to add pizzazz to various documents, presentations or graphic designs. In this article, we will guide you through the steps to create bubble letters in Microsoft Word using various methods.
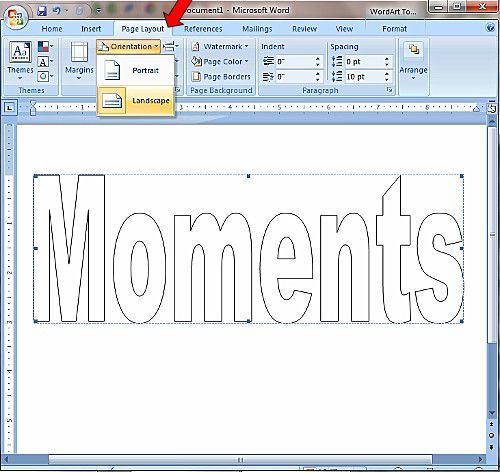
Method 1: Using WordArt
1. Open Microsoft Word and start a new document or open an existing one where you want to insert bubble letters.
2. Click on the “Insert” tab in the top menu.
3. Find the “WordArt” option and click on it.
4. Browse through the different WordArt styles to find one that looks like bubble letters.
5. Click on the style you prefer. A text box with sample text will be inserted into your document.
6. Edit the text within the text box by selecting it and typing your desired content.
7. Adjust the size, font, and color for your preference using the corresponding options on the ribbon menu.
Method 2: Exploring Different Fonts
1. Open Microsoft Word and start a new document or open an existing one where you want to insert bubble letters.
2. Click on the “Insert” tab in the top menu.
3. Select “Text Box” from the options and click on “Draw Text Box.” Click and drag to create a text box on your document.
4. Type your desired content within the text box.
5. Highlight your text and navigate to the “Home” tab at the top of your screen.
6. Browse through various fonts available within Microsoft Word, such as “Segoe Print,” “Chiller,” or “Verdana Ref.”
7. Try out different fonts until you are satisfied with one that closely resembles bubble letters.
Method 3: Using Online Resources and Importing Custom Fonts
1. Visit websites with free fonts such as DaFont.com, FontSpace.com, or other reputable font repositories.
2. Search for “bubble letters” or similar keywords to find fonts you like.
3. Download the font files in TTF (TrueType Font) or OTF (OpenType Font) format.
4. Install the new font on your computer by following the installation instructions provided on the website or by double-clicking the font file and pressing “Install.”
5. Restart Microsoft Word if it’s already open. The newly installed font should now be available in Word’s “Font” dropdown menu under the “Home” tab.
6. Use the same steps outlined in Method 2 to create a text box, type your content, and change the font to your newly downloaded bubble letter font.
Conclusion:
Creating bubble letters in Microsoft Word doesn’t require any advanced design skills, thanks to its built-in WordArt feature, a vast array of different fonts, and the ability to import custom fonts from online sources. By following these methods, you will be able to transform plain text into creative and eye-catching bubble letters for use in various projects.


