Classroom Management

Group Work in the Classroom | How to Effectively Organise Group Rotations

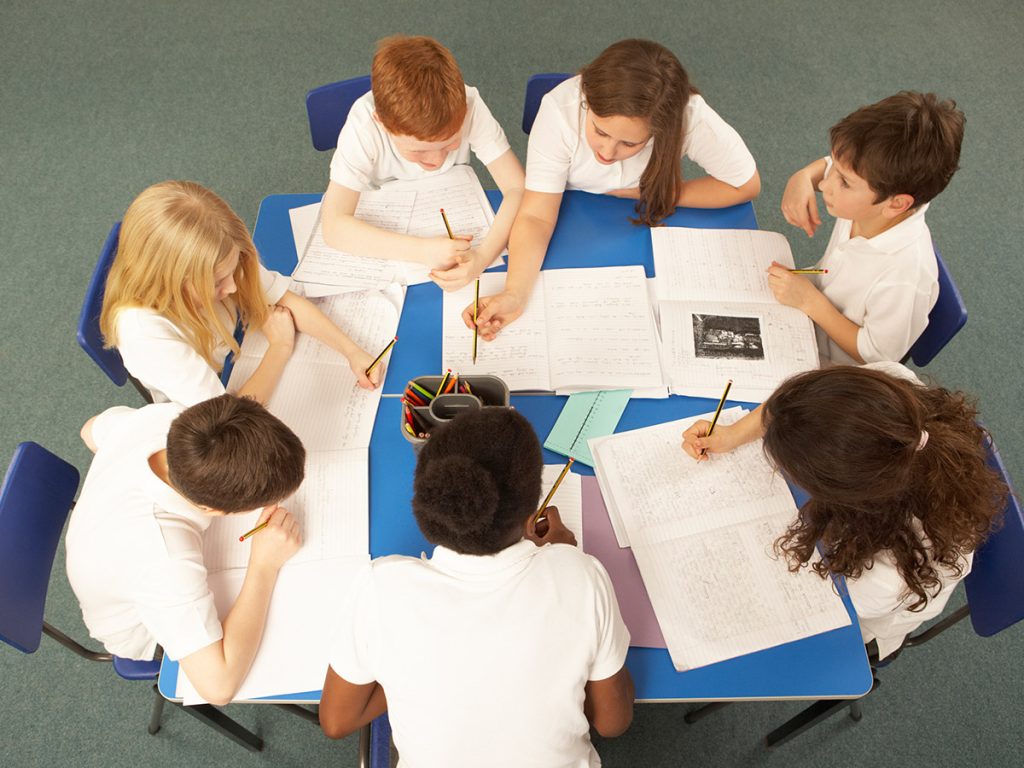
The educational landscape is continuously evolving, and one aspect that remains crucial is the ability to work effectively within a group. In the classroom setting, group work is not just a method to break the monotony of individual tasks but also an essential strategy for developing students’ social skills, critical thinking, and collaborative abilities. However, the challenge often lies in organizing group rotations efficiently. Here’s how educators can effectively manage this process for optimal learning outcomes.

1.Understand Your Students’ Strengths and Weaknesses: Before diving into group activities, it’s imperative for educators to understand each student’s unique strengths and weaknesses. This knowledge will allow for balanced group assemblies where students can complement each other’s abilities.

2. Set Clear Objectives and Roles: Each group should have a clear understanding of the task at hand and the roles required to achieve their goals. Assigning specific roles helps ensure that all students are actively participating and contributing to the group’s work.

3. Create Diverse Groups: Aim for diversity in every group by mixing genders, abilities, and social backgrounds. This diversity encourages a range of perspectives, which can lead to more creative solutions and comprehensive understanding on various topics.

4. Implement Rotational Systems: Establish a rotational system where students move through different groups throughout the academic course. This not only exposes them to a variety of peers and working styles but also prevents cliques from forming, fostering inclusivity.

5. Monitor and Provide Feedback Regularly: As groups work together, it’s important for educators to monitor their progress and dynamics. Regular feedback assists in keeping groups on track and addressing any collaborative issues that may arise promptly.

6. Reflection Sessions Post-Group Work: After each rotation or major project, conduct reflection sessions where students can discuss what worked well within their groups and what could be improved. Reflective practices develop students’ self-awareness and group savvy.

7. Leverage Technology: Utilize digital tools like classroom management software to organize and monitor group rotations easily. Technology can aid in randomized group selection or keep track of rotation histories to ensure equitable grouping throughout the year.

8. Encourage Autonomy: Over time, encourage groups to take charge of their own organization and rotations as much as possible. Autonomy enhances engagement and accountability among members for their collective success.

Incorporating these strategies into classroom-based group work not only eases the logistical challenges of managing diverse learners but also empowers students with vital life skills such as communication, problem-solving, leadership, and teamwork. As educators curate these experiences with intentionality, they gift their pupils with tools that transcend academic settings and prepare them for the collaborative nature of real-world environments.
8 Ikea Hacks For The Classroom

When it comes to organizing and decorating a classroom, Ikea has a wide range of affordable and versatile products that can help transform your space. Whether you are a teacher looking for creative storage solutions or a parent wanting to add some personal touches to your child’s school environment, these Ikea hacks are sure to inspire you.

1. Homework Station: Turn a simple Ikea desk into a dedicated homework station by adding a pegboard to the back wall. Hang small containers on the pegboard to store school supplies like pens, pencils, markers, and scissors. This will help keep everything within reach and reduce clutter on the desk.

2. Book Nook: Create a cozy reading nook by using Ikea’s Kallax shelf unit. Place a comfy chair or bean bag next to the shelf and fill it with books of different genres and reading levels. You can also add some fairy lights or a small lamp to create a warm and inviting atmosphere.

3. Art Display: Use Ikea’s picture ledges to create a creative art display in your classroom. Mount the ledges on the wall and place student artwork, inspirational quotes, or important announcements on them. This will not only showcase your students’ creativity but also make the classroom feel more personalized.

4. Flexible Seating: Ikea’s stackable stools are perfect for creating flexible seating options in the classroom. Arrange them in a circle or small groups to encourage group work or discussions. The stools are lightweight and easy to move around, allowing for a versatile learning environment.

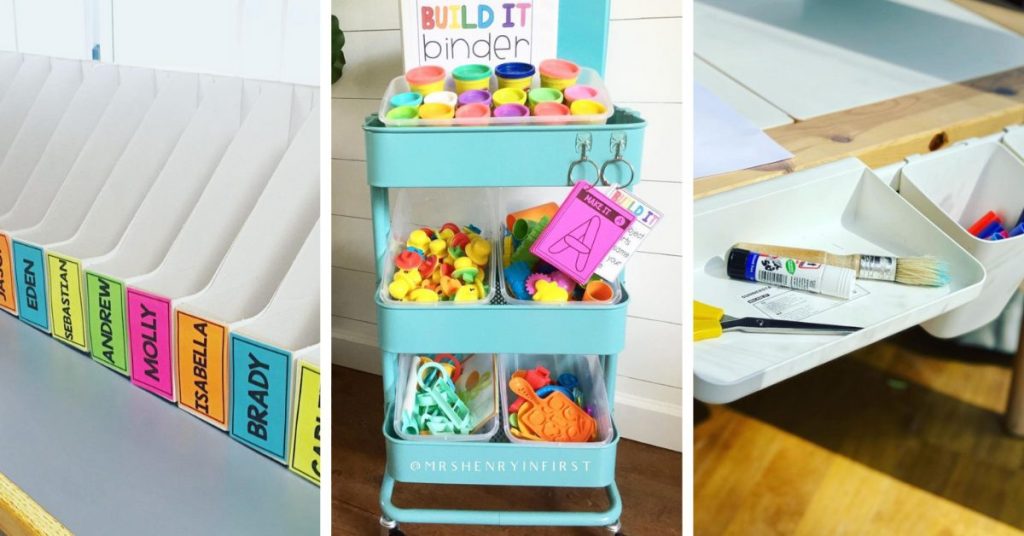
5. Supply Caddy: Keep classroom supplies organized and easily accessible by using Ikea’s Raskog utility cart. You can store items like glue sticks, scissors, and markers in different compartments of the cart. Roll it around the classroom to bring supplies wherever they are needed.

6. Reading Corner: Transform a corner of the classroom into a cozy reading space using Ikea’s curtains and floor cushions. Hang curtains to create a separate area and place floor cushions or rugs for students to relax and enjoy a good book.

7. Whiteboard Wall: Turn a large section of the classroom wall into a whiteboard using Ikea’s EKET cabinets. Attach whiteboard panels to the cabinet doors and mount them on the wall. This provides ample writing space for brainstorming sessions, group work, or displaying important information.

8. Classroom Calendar: Use Ikea’s magnetic boards and magnets to create a functional and decorative classroom calendar. Assign different colors to various activities or subjects and use magnets to mark important dates or events. This will help students stay organized and engaged.

These Ikea hacks are just a starting point for transforming your classroom into an organized and inspiring learning environment. With a little creativity and some affordable Ikea products, you can create a space that both students and teachers will love!”

18 Unique Meet The Teacher Ideas + Printables For Every Classroom!

Engaging students and their families from the get-go is fundamental to building a strong classroom community. “Meet the Teacher” events are a perfect opportunity for this. Here are 18 unique ideas along with printables to make your next event unforgettable:

1.Welcome Kits: Assemble small bags with classroom information, a welcome letter, and a small treat. Include a printable about classroom rules and a fun ‘All About Your Teacher’ questionnaire.

2.Photo Booth: Set up a corner of your classroom with props and a backdrop where families can take pictures. Offer printables with funny sayings or grade level signs for them to hold.

3.Interactive Classroom Map: Create a map of your classroom with different stations marked on it. Hand out maps as printables so parents and students can tour the room together.

4.Scavenger Hunt: Develop a scavenger hunt that leads students around the room to learn about different areas. Create printables listing the items they need to find.

5.Student Work Gallery: Display student work from the previous year and have current students guess what they’ll be doing. Provide ‘Gallery Walk’ printables for notes and observations.

6.Teaching Philosophy Handout: Share your educational philosophy in an engaging printable, decorated with classroom themes or subjects you teach.

7.Guess Who Game: Place baby pictures of staff members around the room, and let families guess who is who using a printable answer sheet.

8.Classroom Recipe: Share a “Recipe for Success” printable that outlines the ingredients for a great school year – things like ‘1 cup of respect’, ‘2 tablespoons of teamwork’, etc.

9.Time Capsule Questionnaires: Have students fill out questionnaires about their favorites and predictions for the year; they’ll get them back at year-end. Make this form available as a printable.

10.Teacher Business Cards: Hand out business cards with your contact information alongside a quirky fact about yourself on printables designed like mini chalkboards or apples.

11.Classroom QR Codes: With smartphone use more common, create printed QR codes that link to an introductory video, your teaching blog, or the school calendar.

12.The Goal Tree: Set up an artificial tree where students can hang their goals for the year on printed leaf templates.

13.Classroom Constitution: Work together to write up rules and expectations on large chart paper during ‘Meet the Teacher’ night, then offer a decorative printable version later on.

14.Subject-Specific Puzzles: Offer puzzles relevant to what you’ll be teaching – crosswords for English class or math challenges for algebra – as printed sheets for kids to take home.

15.Student Interviews: Provide a printable questionnaire that kids can use to interview you, providing them an insight into their teacher’s world outside school.

16.Wish List Balloons: Display balloons with attached printables listing materials or resources you wish for your classroom for parents to consider donating.

17.Instruction Manual: Humorously styled like an appliance manual, give out printed “Student Instruction Manuals” personalized by subject that give tips on how best to support their child’s education at home.

18.Icebreaker Bingo Cards: Distribute bingo cards where each box contains an interesting fact or task related to meeting classmates or discovering the classroom, such as “find someone who has the same favorite book.”

Each of these ideas serves not only as an icebreaker but also helps parents to participate actively in their child’s education from day one while also providing teachers with creative ways to share essential information about their teaching style and expectations.

10 Exciting Qr Code Classroom Activity Ideas

QR codes have become a revolutionary tool in classrooms, offering a fun and interactive way for students to engage with learning material. By simply scanning a code with a tablet or smartphone, a world of opportunities opens up for both teachers and students. Here are ten exciting QR code activities that educators can implement in their classrooms to enhance learning and maintain students’ interest.

1.Scavenger Hunts: Create a QR code scavenger hunt by placing codes around the classroom or school that lead to questions or clues. When students scan them, they can receive hints or missions that encourage them to explore various topics in an adventurous way.

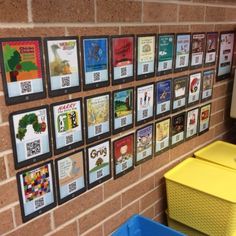
2.Interactive Bulletin Boards: Set up a bulletin board where each QR code links to different resources, videos, or educational games relevant to the current unit of study. It’s an effective way to provide supplemental material that students can explore at their own pace.

3.Video Responses: After completing an assignment or reading material, students can scan a QR code that takes them to an online form or video response platform where they can leave their thoughts and feedback on the lesson.

4.Augmented Reality Learning: Pair QR codes with augmented reality apps to bring diagrams, historical photos, or science concepts to life right on the students’ desks.

5.Exit Tickets: Generate QR codes linking to digital exit tickets where students can answer questions about the day’s lesson before leaving class – providing immediate feedback on their understanding.

6.Audio Stations: Use QR codes in language classes to link to audio clips that help with pronunciation, listening comprehension, or provide examples of dialogue in different languages.

7.Peer Review: Share student work anonymously using QR codes. Students can scan the codes and provide constructive feedback on their classmates’ projects without knowing whose work they’re reviewing.

8.Digital Portfolios: Each student can have a QR code that links to their digital portfolio of work throughout the year. This allows easy access during parent-teacher conferences or open house events.

9.Interactive Worksheets: Have some worksheets come alive with QR codes that link to tutorial videos or animated demonstrations for complex problems, adding depth to the learning experience.

10.Educational Breaks: Embed QR codes into classroom transitions that link to short, educational games or brain teasers which act as mental breaks while keeping the focus on learning.

Incorporating these activities into the classroom not only embraces modern technology but also creates an environment where education is adventurous, engaging, and always just one quick scan away!

Blurt Buttons Curb Blurting Out

In the traditional classroom setting, it is not uncommon for students to speak out of turn or blurt out answers impulsively. This tendency, while natural, can disrupt the flow of lessons and inhibit other students’ opportunity to engage. After thorough research and collaboration with educators, an innovative tool has been developed: the “Blurt Button”. This simple yet effective device aims to minimize such interruptions by offering a tangible reminder to students to pause and reflect before speaking.

The Blurt Button concept is straightforward—a small, desk-mounted button that students can press when they feel the urge to speak out of turn. When pressed, the button lights up silently, signaling the teacher without disrupting the entire class. While the light is a prompt for teachers to acknowledge the student’s eagerness, it also serves as a physical cue for the student, encouraging self-regulation and patience.

Teachers around the world are eager to incorporate Blurt Buttons into their classrooms as studies have shown that they not only reduce unwanted disruptions but also boost overall classroom participation. By pressing the button, students who may typically refrain from speaking up are given a non-intimidating way to signal their readiness to contribute. The physical act of pressing the button has an almost therapeutic effect, giving students a momentary pause that can prevent impulsive remarks.

The impact of Blurt Buttons goes beyond classroom management—it also fosters an environment of inclusivity and respect. Students learn valuable life skills such as taking turns, listening attentively, and contributing thoughtfully. Allowing every voice to be heard in a controlled manner ensures that each student feels valued and respected.

While some might question whether such a device would stifle spontaneity or diminish enthusiasm, pilot programs have demonstrated just the opposite. The buttons encourage students to organize their thoughts and articulate them more effectively when called upon. This intentional process enhances classroom discussions and leads to deeper understanding of subject matter.

Schools implementing Blurt Buttons are already seeing remarkable results: improved behavior, heightened engagement, and increased academic performance. In recognition of these successes, educational institutions have begun expanding this initiative by developing additional tools in conjunction with Blurt Buttons aimed at cultivating self-discipline and encouraging harmonious classroom dynamics.

As education continues to evolve in response to new challenges, solutions like Blurt Buttons demonstrate our commitment to creating nurturing learning environments where every student has the chance to excel both academically and socially. With such progress in behavioral management techniques within our reach, we look forward to witnessing further enhancements in educational practices that cater better for diverse classroom needs across the globe.

7 Tips for Organizing a Teacher’s Desk

Introduction:

Being a teacher can be a challenging yet rewarding profession. One of the keys to staying organized and efficient in the classroom is having a well-organized desk. A clutter-free and well-arranged desk can make a significant difference in the overall flow of your daily tasks. In this article, we will share seven tips to help you organize your teacher’s desk effectively.

1. Clear the Clutter:

Start by clearing out unnecessary items from your desk. Remove any papers, books, or supplies that you don’t use regularly. Create designated spaces for essential materials, such as pens, pencils, and papers, and keep them within easy reach.

2. Utilize Desk Organizers:

Invest in desk organizers to help categorize and store your supplies. Use drawer dividers to separate different types of stationery. Desk caddies or trays can be useful for holding smaller items like paperclips, sticky notes, and USB drives.

3. Establish a Filing System:

Create a filing system that works for you. Use labeled folders or binders to categorize your documents, assignments, and lesson plans. Consider using color-coding or alphabetizing to make finding specific materials more efficient.

4. Prioritize Essential Items:

Identify the items that you frequently use and need immediate access to, such as your planner, grade book, or classroom roster. Keep these essential items in a designated spot on your desk, so they are easily within reach when needed.

5. Minimize Paper Clutter:

In the digital age, it’s essential to minimize paper clutter. Consider using online tools and platforms to manage and organize your documents. Scan important papers and save them electronically for easy access. Utilize cloud-based storage options for added convenience.

6. Create a Personalized Workspace:

Add personal touches to your desk that reflect your personality and teaching style. Display photos, inspiring quotes, or student artwork to create a warm and inviting workspace. However, avoid overcrowding your desk with too many decorative items, as it may hinder productivity.

7. Maintain Regular Cleaning:

Finally, make it a habit to regularly clean and declutter your desk. Dedicate a few minutes each day or week to tidy up your workspace. This simple practice will help you maintain an organized desk and a more productive mindset.

Conclusion:

Organizing your teacher’s desk is an essential aspect of creating an efficient and functional classroom. By following these seven tips, you can transform your desk into a clutter-free zone that enhances your productivity and overall teaching experience. Remember, an organized desk often leads to an organized mind, paving the way for a successful school year. So, roll up your sleeves, declutter, and implement these tips to enjoy a well-organized teacher’s desk!

Editable Classroom Labels and Signs Templates from Teach Starter

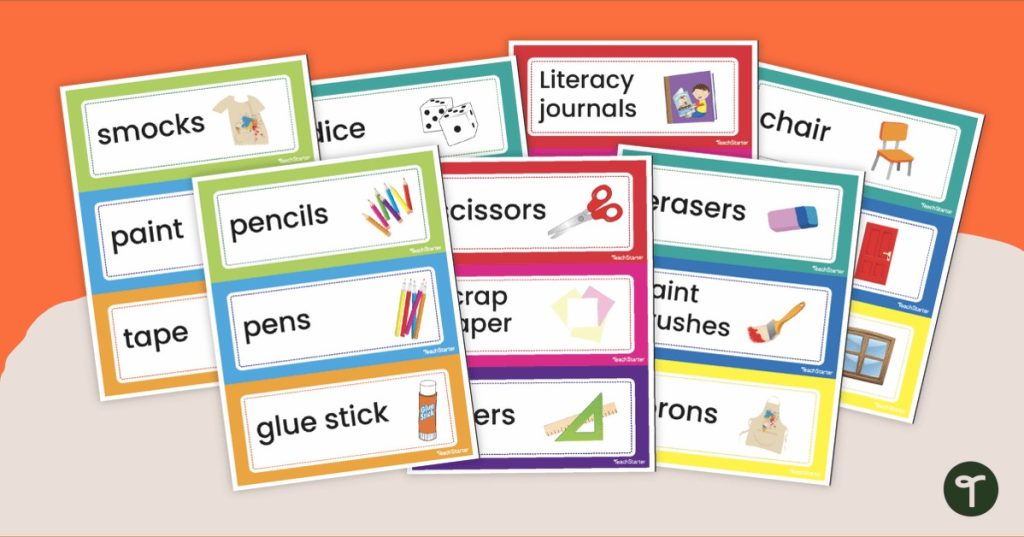
In education, classroom organization plays a crucial role in creating a conducive learning environment for students. One effective way of achieving this is by using labels and signs to organize different areas of the classroom. Teach Starter, a renowned educational resource website, offers a variety of editable classroom labels and signs templates to support teachers in creating a visually appealing and interactive learning space.

The editable classroom labels and signs templates provided by Teach Starter are easy to use and customize according to individual classroom needs. These templates cover a wide range of areas, including classroom stations, bookshelves, storage containers, and subject-specific labels. By utilizing these templates, teachers can easily create a consistent and visually appealing labeling system throughout their classroom.

One of the key benefits of using editable classroom labels and signs templates is the ability to tailor them to specific instructional needs. With these templates, teachers can choose from various font styles, sizes, and colors to match their overall classroom decor. Additionally, teachers can easily edit the text on the labels or signs to cater to the specific materials or areas they need to label. This flexibility allows for a personalized touch while maintaining consistency throughout the classroom.

Another advantage of using Teach Starter’s editable classroom labels and signs templates is the ease of implementation. The templates are user-friendly and can be accessed online, making it convenient for teachers to create and print customized labels and signs. This saves valuable time and effort that would otherwise be spent designing labels from scratch or handwriting signs.

Furthermore, utilizing these templates promotes student independence and organization. By clearly labeling different areas and materials within the classroom, students are empowered to take responsibility for their own learning environment. This promotes a sense of ownership and accountability among students, fostering an organized and efficient classroom atmosphere.

In conclusion, Teach Starter’s editable classroom labels and signs templates are a valuable resource for teachers looking to enhance their classroom organization. These flexible templates allow for customization, ease of use, and promote student independence. By implementing these templates, educators can create a visually appealing and organized learning space that supports student learning and engagement.

“9 Classroom Clock Hacks” From the Teach Starter Blog

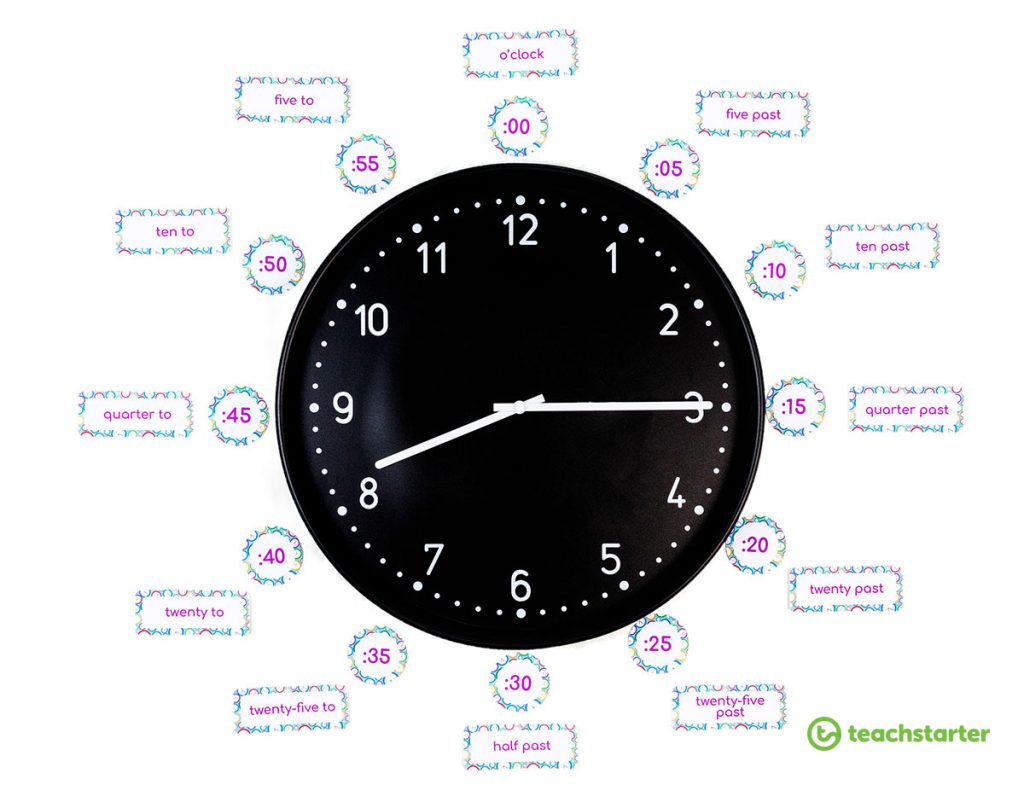
“Classroom clocks are essential tools for keeping students on schedule and teaching them about time management. But did you know that clocks can also be used for various other purposes in the classroom? In this article, we will explore nine creative clock hacks that can enhance your teaching and engage your students.

1. Visual Timers: Use the minute hand of a clock as a visual timer to help students grasp the concept of time and manage their tasks more effectively. Give them deadlines and encourage them to complete their work before the hand reaches a specific position.

2. Math Practice: Turn your clock into a math practice tool by asking students to calculate and determine the angles formed by the hour and minute hands at various times. This activity can help them improve their understanding of angles and time.

3. Time Zones: Use multiple clocks displaying different time zones to teach students about geography and world time differences. Discuss how different parts of the world experience different times simultaneously.

4. Elapsed Time: Challenge your students to calculate the elapsed time between different clock readings. Provide them with scenarios and ask them to determine how much time has passed.

5. Time Management: Teach students the importance of time management by setting specific time frames for different tasks. Use the clock as a visual reminder to help them stay on track and complete their work within the given time frame.

6. Calendar Clock: Combine a clock and calendar to create a comprehensive visual aid for teaching days, months, and seasons. Use colorful stickers or markers to highlight important dates and events.

7. Time Games: Engage students in fun time-related games and activities, such as “Stop the Clock” or “Race Against Time.” These games can help improve their time recognition skills and make learning more enjoyable.

8. Clock Art: Get creative and let students decorate their own classroom clocks. This activity allows them to express their artistic skills while personalizing their learning environment.

9. Time Capsule: Create a time capsule activity where students write letters to their future selves and seal them in envelopes. Set a specific date for opening the time capsules and discussing the content. Use the clock to countdown to the opening day.

By exploring these nine classroom clock hacks, you can make learning about time more engaging and interactive for your students. Remember, clocks are not just timekeeping devices; they can be versatile tools for teaching various concepts and skills. So, get creative and turn your classroom clock into an educational resource!”

The Secret to Effective Classroom Transitions

Classroom transitions are an essential part of a productive learning environment. They involve smoothly and effectively moving students from one activity or location to another. When done well, transitions can help maintain flow and maximize instructional time. However, poorly managed transitions can lead to disruptions, wasted time, and loss of focus. This article explores the secret to effective classroom transitions and provides strategies to make them seamless and efficient.

1. Establish Clear Expectations:

Setting clear expectations and routines for transitions is crucial for their success. Students should know what is expected of them during transitions, including how to gather materials, where to go, and how to behave. Clearly communicate these expectations and reinforce them consistently.

2. Use Visual Cues:

Visual cues can help students quickly understand the upcoming transition. Utilize visual timers, visual schedules, and countdowns to signal the remaining time for a task or the start of a new activity. Visual cues create predictability and help students transition smoothly.

3. Provide Transition Signals:

Transition signals are auditory cues that indicate a change is coming. These signals can be a chime, a song, or a teacher’s voice. Giving students an auditory cue prepares them mentally for the transition and helps them shift their focus from one activity to the next.

4. Involve Students in the Process:

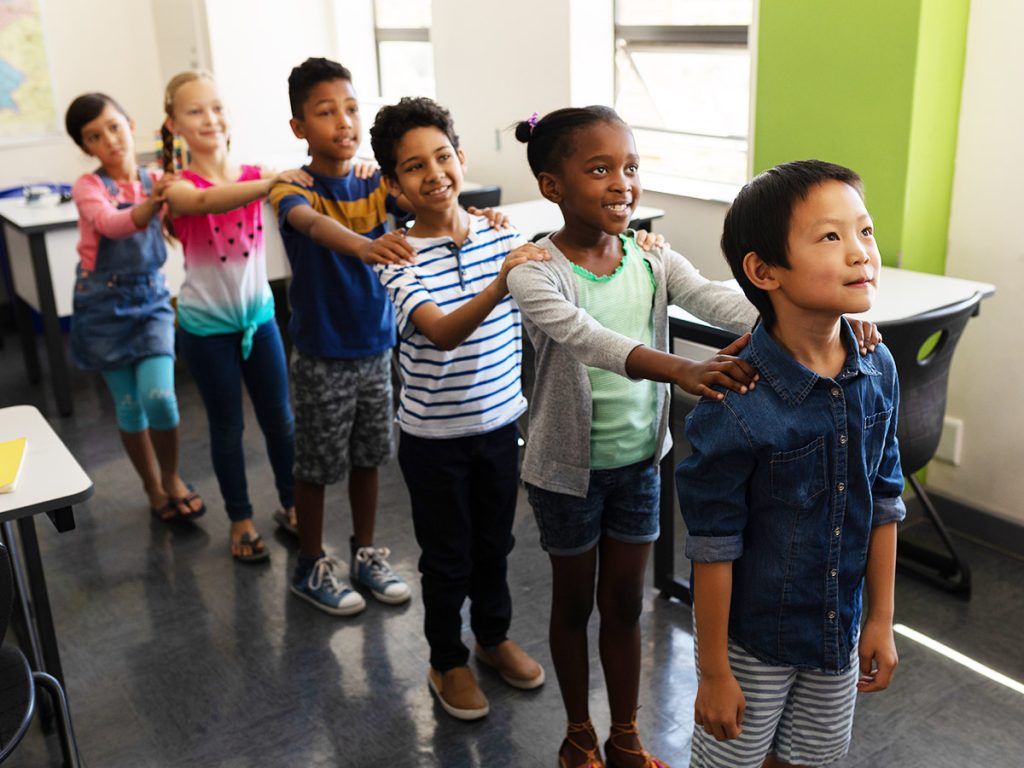
Including students in the transition process fosters their ownership and engagement. Assign specific roles to students during transitions, such as line leaders or material distributors. By involving students, they become invested in the smooth execution of transitions.

5. Practice and Reinforce:

Consistent practice of transitions is essential for ensuring their effectiveness. Begin the school year by explicitly teaching and practicing the transition routines. Provide positive reinforcement and feedback to students who demonstrate successful transitions. Regularly revisit and reinforce expectations to maintain consistency throughout the year.

6. Minimize Transition Time:

Efficient transitions require minimizing the time spent between activities. Sequence activities in a logical order to eliminate unnecessary movement. Organize materials in an easily accessible way to prevent delays. By reducing transition time, more time can be dedicated to meaningful learning experiences.

7. Anticipate Transition Issues:

Awareness of potential transition issues allows teachers to address them proactively. Identify common challenges during specific transitions, such as from whole group to small group instruction or during arrival and dismissal times. Develop strategies to address these challenges and provide additional support when needed.

8. Monitor and Adjust:

Regularly monitor transitions to assess their effectiveness. Observe how smoothly students move, their level of engagement during transitions, and the overall impact on instructional time. Analyze the data collected and make necessary adjustments to optimize the transitions.

Effective classroom transitions have a significant impact on the learning environment. By establishing clear expectations, utilizing visual and auditory cues, involving students, practicing consistently, minimizing transition time, addressing challenges, and monitoring their effectiveness, teachers can create seamless transitions that enhance student engagement and maximize instructional time. With the secret to effective classroom transitions in hand, educators can create a conducive learning atmosphere where students can thrive.

5 Simple Ways To Develop Routines In The Classroom

Developing routines in the classroom is essential for creating a structured learning environment that promotes consistency and helps students thrive. Here are five simple ways to establish effective routines in your classroom:

1.Clear Communication: The first step towards establishing routines is to communicate them clearly to the students. Explain why each routine is important, how it will benefit them, and what exactly is expected from them. For example, have a clear starting routine where students know they should come in, sit down, and begin working on a set activity.

2.Consistency is Key: Routine means doing the same things regularly. Ensure that the routines you establish are consistent from day to day. This could mean starting and ending the class precisely at the same times or having a fixed schedule for certain activities every week.

3.Practice Makes Perfect: After introducing new routines, practice them with your students multiple times until they become second nature. Repeat the requirements and walk through the steps as a class until everyone understands what to do.

4.Visual Reminders: Use charts, posters, or digital slides that outline daily routines and expectations visibly in the classroom space. These visual aids can serve as constant reminders for students until they internalize their daily tasks.

5.Positive Reinforcement: Acknowledge when students follow routines well which will encourage them and others to continue to do so. Simple praise or a school-wide rewards system can be effective in reinforcing good habits.

Establishing routines in your classroom will create a predictable environment where students can focus on learning instead of trying to figure out what they should be doing next. Implementing these five simple strategies will help you develop these essential patterns and structures for success.