Introduction:
In today’s fast-paced educational landscape, teachers are often juggling multiple responsibilities. Keeping track of lesson plans, assessments, meetings, and important dates can be a challenging task. However, thanks to the availability of printable templates, teachers now have the opportunity to create personalized teacher planners that cater to their specific needs. In this article, we will explore the benefits of creating your own teacher planner using printable templates, as well as provide step-by-step instructions on how to get started.
Breaking Down the Benefits:
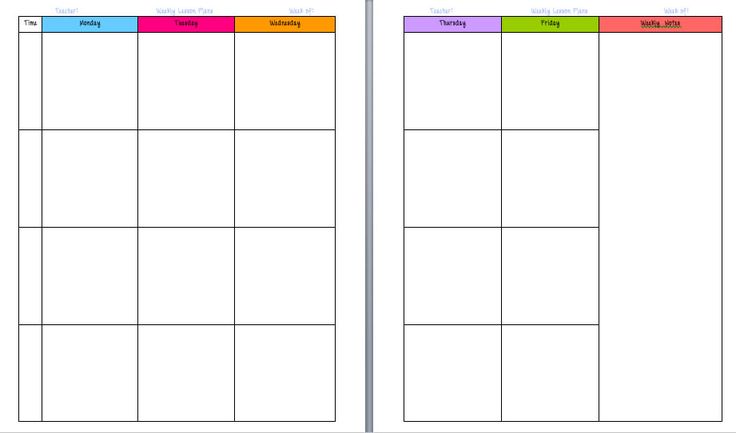
1. Customization: One of the main advantages of using printable templates is the ability to customize your teacher planner according to your preferences. Whether you prefer a daily, weekly, or monthly layout, printable templates provide the flexibility to design a planner that fits your unique teaching style.
2. Organization: With a personalized teacher planner, you can easily organize and plan your lessons, assessments, and activities. By having all your information in one place, you can save time and stay on top of your teaching schedule.
3. Time Management: A teacher planner not only helps you stay organized but also aids in managing your time effectively. With a clear overview of your commitments, you can allocate time for lesson planning, grading, professional development, and self-care.
Getting Started:
1. Choose a Printable Template: Visit the Teach Starter website (https://www.teachstarter.com/gb/blog/create-your-own-teacher-planner-printable-templates/) and explore their collection of printable teacher planner templates. Select one that best suits your needs and download it to your computer.
2. Customize the Template: Open the downloaded template using a software program like Microsoft Word or Google Docs. Make any desired changes, such as adding your name, school logo, or personalizing the layout. Utilize different sections for specific subjects or responsibilities, and ensure that you have included important dates and spaces for notes.
3. Print and Assemble: Once you’re satisfied with your customized teacher planner, it’s time to bring it to life. Print the pages, ensuring that you have enough copies for the entire academic year. Consider using a high-quality paper for durability. Next, organize the pages in a way that makes sense to you. You may choose to bind them together or use a three-ring binder for easy customization.
Conclusion:
Creating your own teacher planner using printable templates offers numerous benefits, including customization, organization, and improved time management. By utilizing the steps outlined above, you can design a teacher planner that caters to your specific needs and teaching style. Take advantage of the available resources and start planning for a successful academic year.
Please note that this article is provided as raw text according to your request. Additional formatting, edits, and images may be required for a final polished version.


