Introduction
Creating a fantastic yearbook is an excellent way to preserve memories from a hectic, busy school year. Whether you’re feeling overwhelmed thinking about how to create it or simply procrastinating, this last-minute guide will help you ensure that your yearbook becomes the keepsake everyone looks forward to receiving.
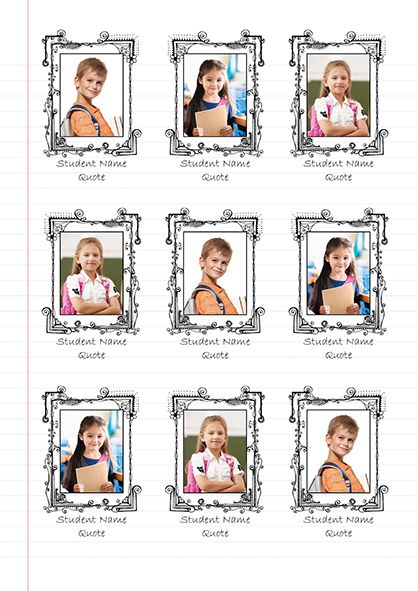
1. Gather Your Content
You can’t start creating your yearbook without knowing what’s going to be in it. Make a list of all the events, teams, clubs, and special moments you want the yearbook to include. Additionally, gather photos from throughout the year and ask students and teachers for any missing ones.
2. Choose a Yearbook Theme
Picking a theme can bring consistency between pages and make your yearbook look more unified. Think about the highlights of the school year or any specific events that stood out. Once you have chosen your theme, decide on a color scheme and font set that match well with it.
3. Assign Pages and Deadlines
With so many pages to complete in such limited time, it’s important to delegate tasks amongst your team. Break down the overall project into smaller assignments with clear deadlines so everyone knows what they are responsible for and when it needs to be completed.
4. Create Eye-Catching Page Layouts
Now that you know the content for each page, focus on creating attention-grabbing layouts that showcase everything well-organized. Use design software like Adobe InDesign or simple online tools like Canva to create templates for each page type (e.g., academic section or sports team) and ensure consistency throughout the book.
5. Write Engaging Captions and Headlines
Captions should bring life to each photo by adding context and telling a story while keeping headlines short but impactful. Utilize your theme as inspiration for both headlines and captions, ensuring they adhere to the selected tone and style of the yearbook.
6. Proofread and Edit
Errors in grammar, spelling, and punctuation can take away from the overall quality of your yearbook. Carefully proofread each page multiple times and ask fellow students or teachers to provide additional help in spotting errors.
7. Print and Distribute
Once you’re satisfied with your work, it’s time to send it to a printing company. Make sure to communicate your desired deadline, the number of copies, paper type, and any specific printing preferences. Allow for some buffer time as the process may uncover minor issues that need to be fixed before final delivery.
Conclusion
Creating a yearbook at the last minute can be overwhelming and challenging, but it’s not impossible. With detailed planning, delegated tasks, smart use of resources, and relentless teamwork, you’ll find yourselves holding the completed yearbook that will surely serve as an unforgettable memory for years to come.