
Introduction
A gratitude jar is a simple and powerful tool to cultivate positivity and mindfulness in our daily lives. It encourages the habit of acknowledging and appreciating the good things we experience, helping us focus on what we have instead of what we lack. In this article, we present a step-by-step activity guide to create your own gratitude jar.
What You’ll Need:
– A jar (any size or material will do)
– Paper
– Pen or pencil
– Colored markers or pens (optional)
– Decorative materials (stickers, ribbons, etc., optional)
Step 1: Choose Your Jar
Find a jar that you’d like to use as your gratitude jar. It can be any size or material – just make sure it has a lid or a way to close it.
Step 2: Decorate Your Jar (Optional)
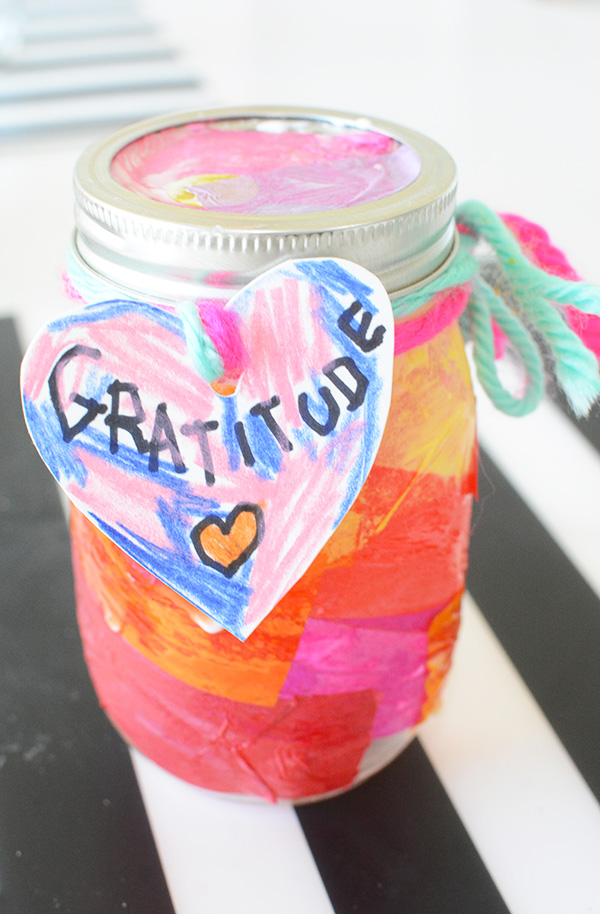
To make your gratitude jar more personal and inviting, consider decorating it. Use stickers, ribbons, paint, or anything else you’d like to beautify your jar. Decorating it can also serve as a fun creative activity and help set the tone for practicing gratitude.
Step 3: Prepare Note Slips
Cut small pieces of paper into slips that can fit into your jar. These slips will be used for writing the things you’re grateful for. You may want to choose colored paper or use different colors for various categories of gratitude, such as people, experiences, moments, etc.
Step 4: Set Up Your Gratitude Station
Find a spot in your home where you can easily access and see your gratitude jar daily. This can be on your desk, nightstand, kitchen counter – wherever serves as a constant reminder to practice gratitude.
Step 5: Start Writing What You’re Grateful For
Now that your gratitude jar is set up and ready-to-use, take some time each day – or whenever you feel inspired – to write down things you’re grateful for. These can be as simple or profound as you’d like. Remember to date your slips so you can look back and reflect on specific moments of gratitude later.
Step 6: Fill Your Jar
As you continue to acknowledge and appreciate the good things in your life, your gratitude jar will begin to fill up with these wonderful moments and reminders. Watch as it transforms into a visual representation of the abundance in your life.
Step 7: Reflect Periodically
Every so often, take time to reflect on the notes in your gratitude jar. This could be at the end of each month, during challenging times, or whenever you need a little pick-me-up. As you read through your notes, relive those moments of gratitude and recognize the positivity in your life.
Conclusion
Creating a gratitude jar serves as an effective and enjoyable reminder to appreciate the good things in our lives. By actively noticing these moments, we train ourselves to focus more on positivity and develop an attitude of gratitude. Give it a try and experience the powerful impact it can have on your wellbeing and mental health.