The integration of STEM (Science, Technology, Engineering, and Mathematics) education in the classroom has ignited a renaissance in teaching methodology that aims to equip students with the critical skills they will need to thrive in a future dominated by technology and scientific advancements. Unlike traditional education paradigms that often isolate subjects, STEM education fosters an interdisciplinary approach to learning. This method encourages students to understand the interconnectivity and real-world applications of scientific and mathematical principles.
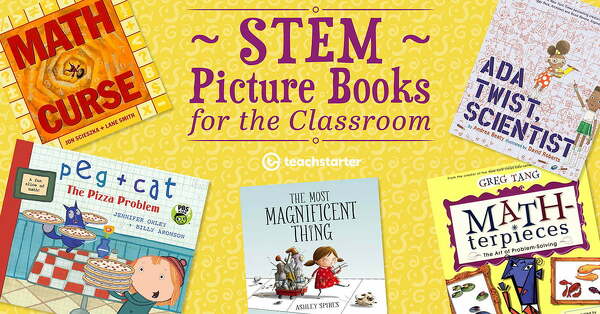
Introducing STEM early in educational settings is essential as it paves the way for young minds to cultivate an interest in scientific inquiry and problem-solving. Teachers play an instrumental role by creating engaging curricula that encompass hands-on experiments, collaborative projects, and the use of technology to simulate real-world challenges. This can range from coding initiatives in computer class to robotics clubs and science fairs. The beauty of STEM education lies in its ability to be woven into various aspects of study, making learning a dynamic and interactive experience.
Another facet of STEM in the classroom is the emphasis on critical thinking and resilience. Failures and unexpected results are not seen as setbacks but as opportunities for learning and growth—a crucial mindset for burgeoning scientists and engineers. Students learn to embrace complexity and develop tenacity when confronted with a problem.
Moreover, STEM education has been identified as a key driver of career readiness. The demand for professionals in science, technology, engineering, and mathematics fields continues to surge. By instilling strong foundations through STEM curricula, educators are helping create a workforce adept at meeting future vocational challenges head-on.
Incorporating STEM does not mean that arts and humanities take a backseat. Instead, this incorporation leads to STEAM (STEM + Art), emphasizing creativity’s role within technical fields. The arts component adds creative thinking into the mix, illustrating that innovation requires both analytical skills and creativity.
In conclusion, the promotion of STEM education within classrooms is not merely a trend but rather an essential shift towards more comprehensive preparing students for success in an increasingly complex world. By sparking curiosity about how things work and fostering advanced problem-solving skills from an early age, we pave the way for a smarter, more technologically savvy generation ready to lead us into the future.