In this digital age, it’s refreshing to engage in a hands-on activity that brings back the charm of physical books. One such activity is creating your own corner bookmarks. These delightful little creations not only keep your place in a book but also add a personal touch to your reading experience. Read on to learn how you can make your very own corner bookmark using basic craft supplies.
Materials Needed:
– Square piece of paper (15 x 15 cm works well)
– Scissors
– Glue or double-sided tape
– Decorative elements (such as stickers, markers, or glitter)
Instructions:
1. Start with a square piece of paper. For best results, use colorful or patterned paper to make your bookmark stand out.
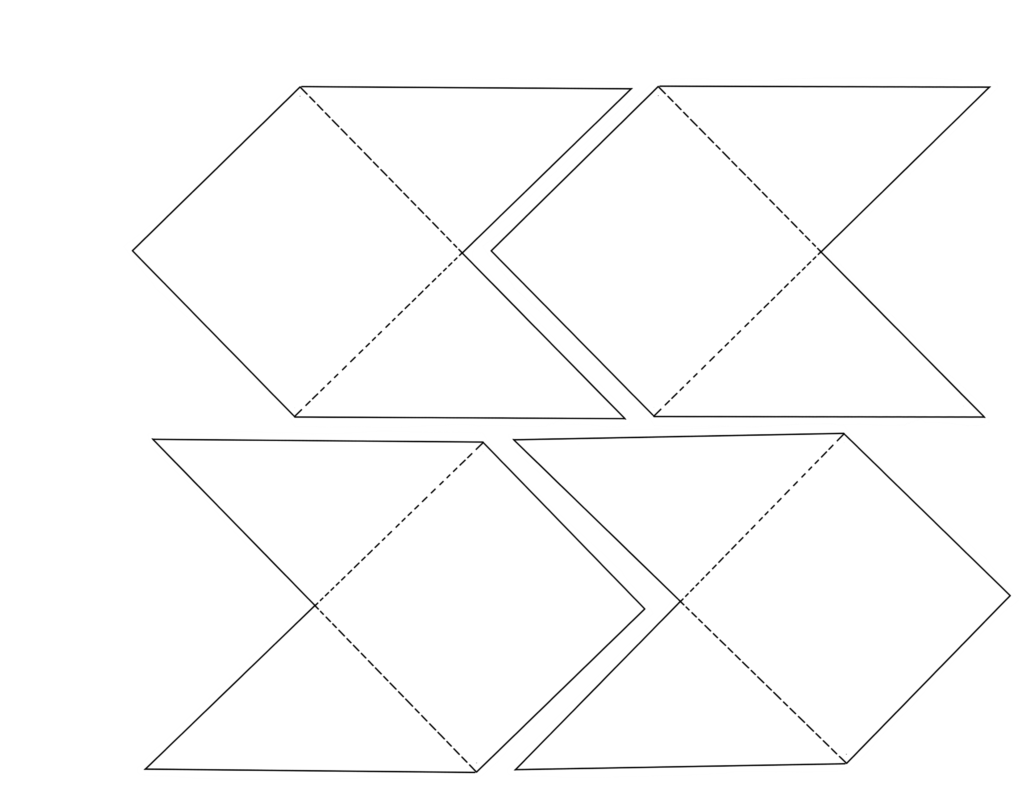
2. Fold the paper diagonally to form a triangle.
3. Take the top corner of the triangle and fold it down to the bottom corner, creating a smaller triangle.
4. Unfold the step above – you should see a crease running down the middle of your triangle.
5. Now take the left corner of the triangle and fold it up to meet the top corner.
6. Repeat this step with the right corner of the triangle, folding it up to meet the top corner—you should now have a square shape with two flaps.
7. Tuck these two flaps into the pocket that was created when you folded down the top corner in step 3.
8. Once both flaps are securely tucked in, press down firmly to ensure that they will not come undone.
9. You now have a basic corner bookmark, but it’s time to unleash your creativity! Decorate your bookmark using stickers, drawings, glitter, or any other craft supplies you have on hand.
10. Allow any glue or embellishments to dry completely before using your bookmark to hold your page.
There you have it—a simple and fun DIY project that is both practical and personal! Corner bookmarks make excellent gifts for book lovers and can also be used as party favors or learning tools for kids. Enjoy making them in different styles and colors!