With the digital world taking over most of our communication, there’s something charmingly nostalgic about receiving a physical letter in the mail. And what better way to enhance that experience than with a mailbox that reflects your personal style? Designing and constructing your DIY mailbox can be a fun weekend project that adds appeal to your front yard and marks your home with unique flair.
Before starting this project, it’s important to check local regulations regarding mailbox specifications—there are typically rules about size, location, and construction to ensure mail delivery is not impeded.
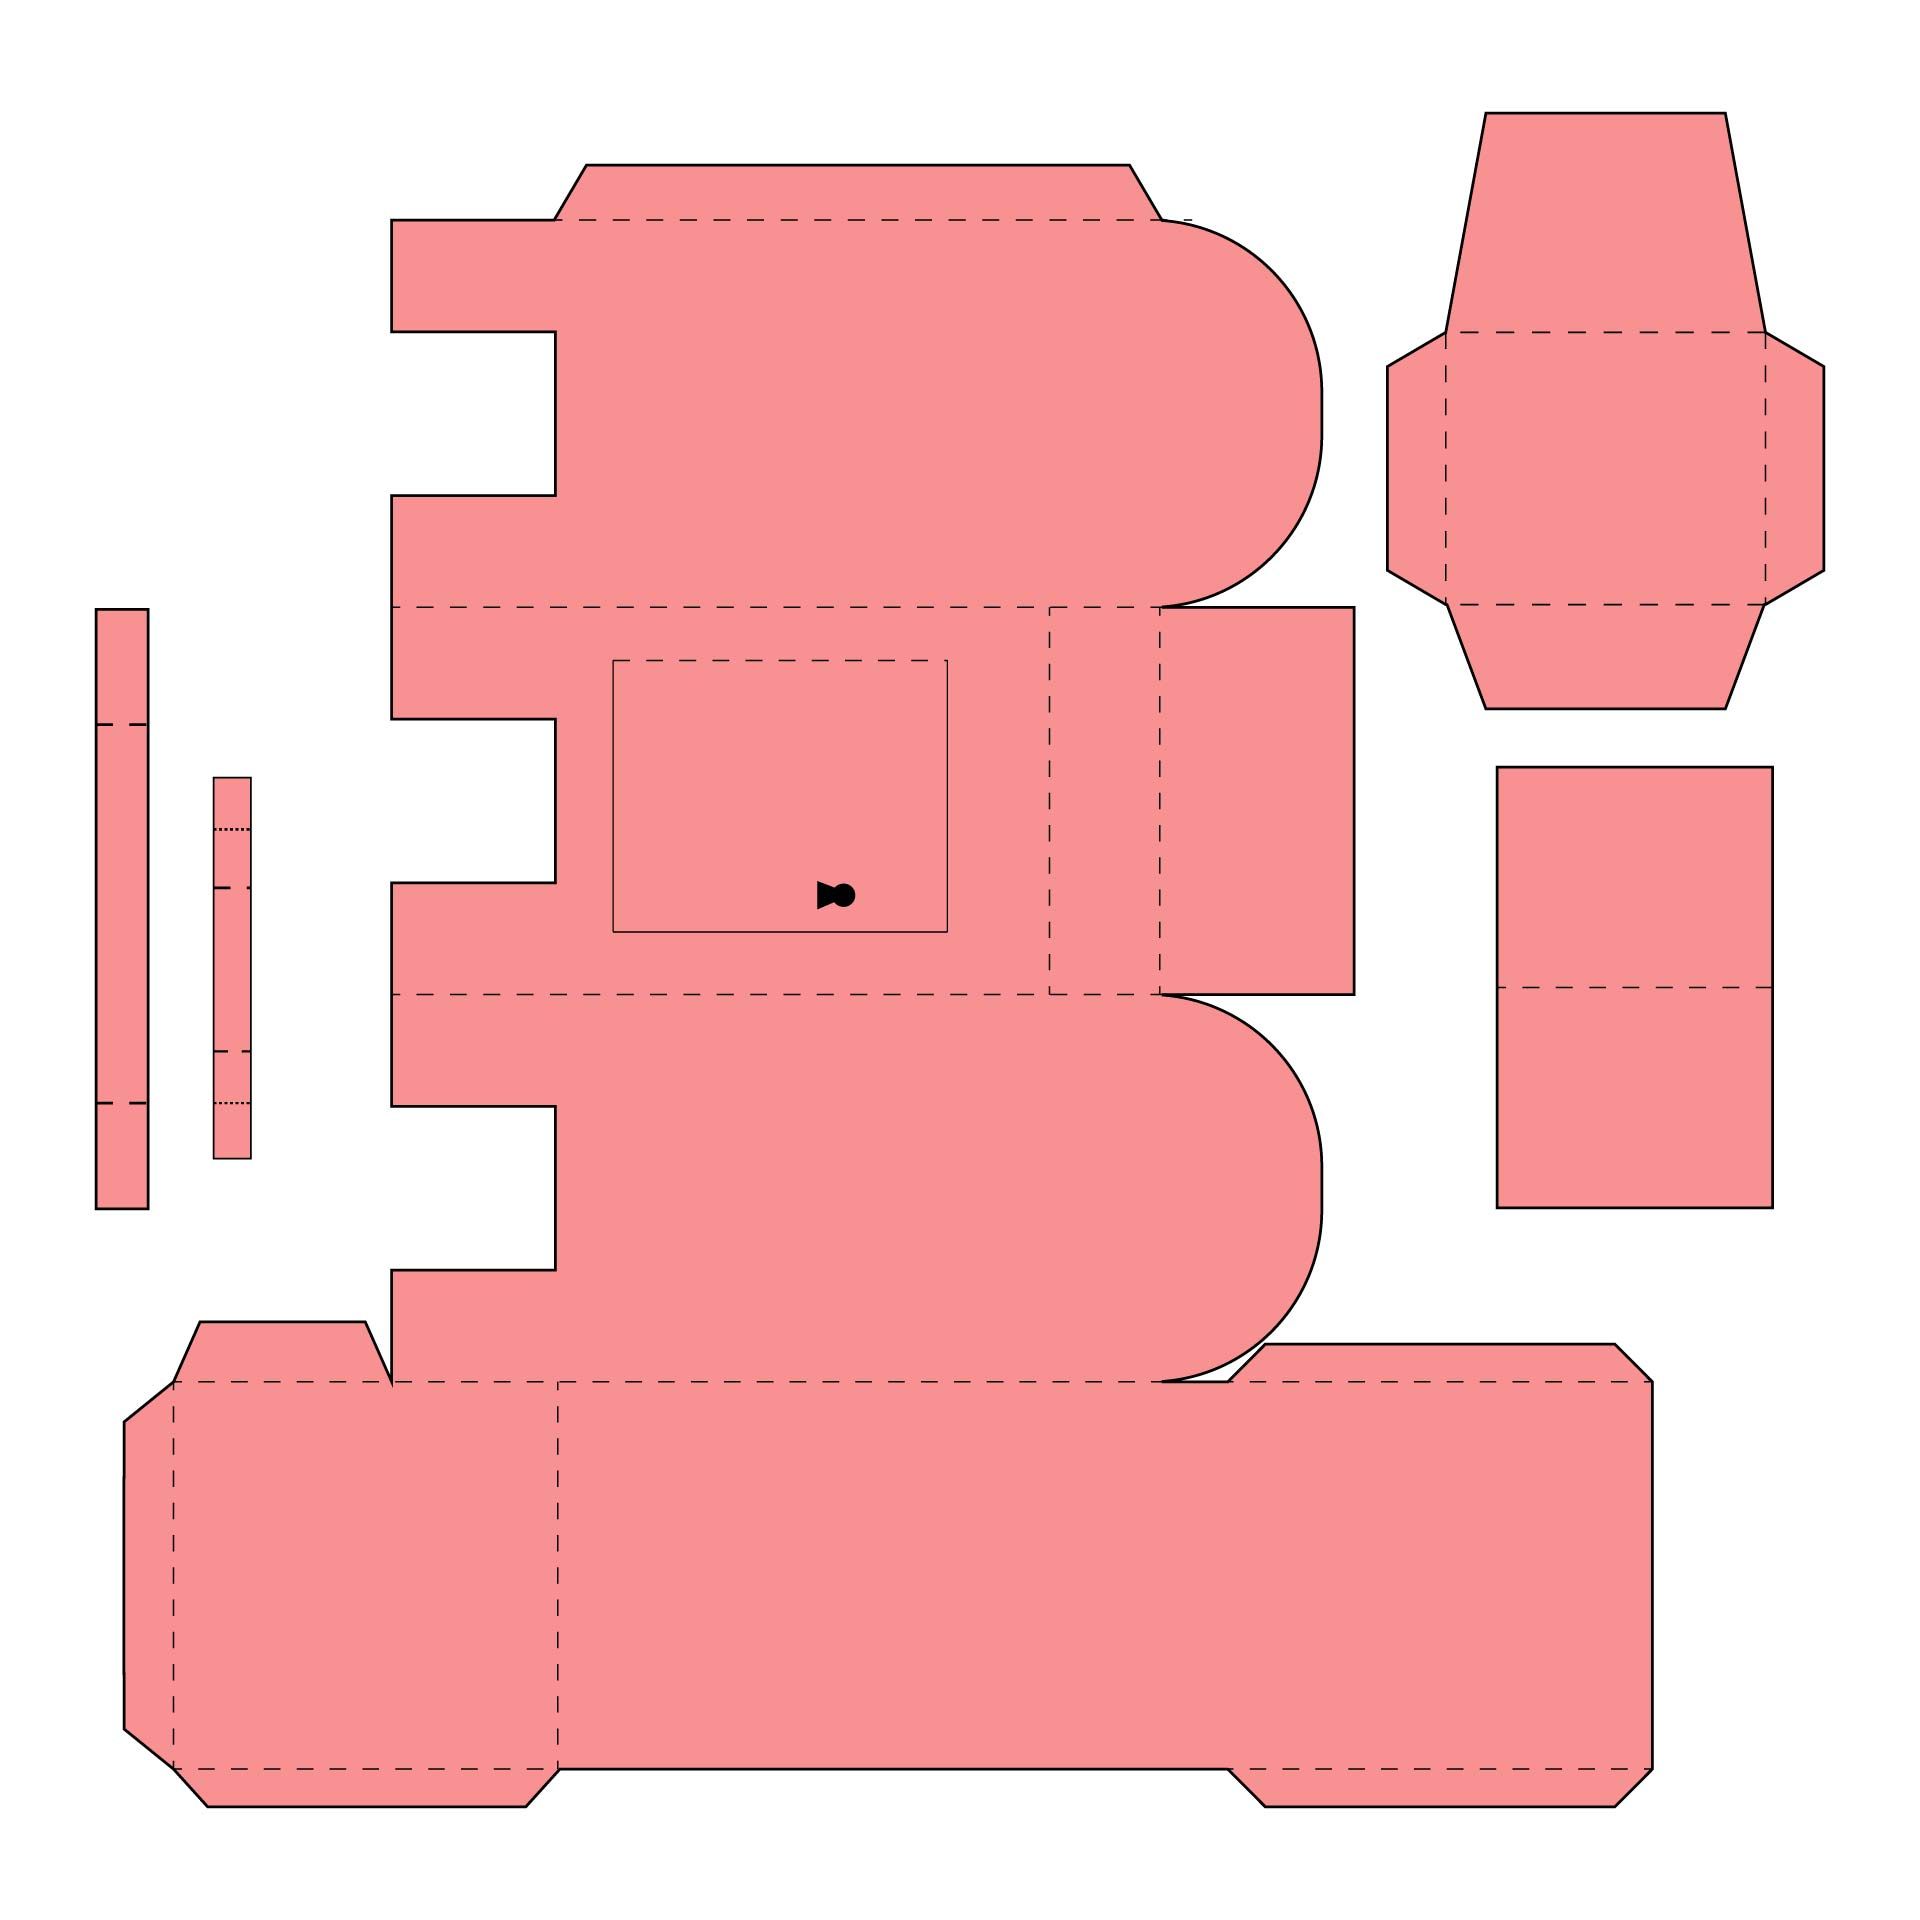
Materials:
– Durable wood (cedar or pine are good choices) or metal sheeting
– Nails or screws
– Hinges (for the mailbox door)
– A latch or magnetic catch (to keep the door closed)
– Weather-resistant paint or sealant
– House numbers
– Other decorative elements as desired
Tools:
– Saw (if working with wood)
– Drill
– Screwdriver
– Measuring tape
– Paintbrushes
Step-by-Step Guide:
1. Planning: Sketch out your design on paper, including dimensions. Consider the size of your mail deliveries, the space available near the curb, and any design themes you wish to incorporate.
2. Cutting Out Parts: Based on your sketch, cut out each part of the mailbox. This typically includes the box body, door, floor, and back panel. If using wood, sand down rough edges for a cleaner finish.
3. Assembly: Start assembling by connecting the sides to the floor and back panel. Make sure everything is square before securing it with nails or screws.
4. Door Installation: Attach hinges to your door then secure it to the body of the mailbox ensuring it opens and closes smoothly.
5. Paint and Seal: Apply weather-resistant paint to protect against rain, snow, and sun damage. Once dried, apply an additional layer of sealant for extra durability.
6. Add Decorative Elements: Personalize with house numbers, patterns, or other decorations. Secure any added elements firmly in place.
7. Installation: Mount your DIY mailbox on a post near your curb following local postal guidelines for height and distance from the street.
Voilà! You’ve completed building a bespoke mailbox that adds practical charm to your front yard right in time for what might just be your new favorite snail mail.