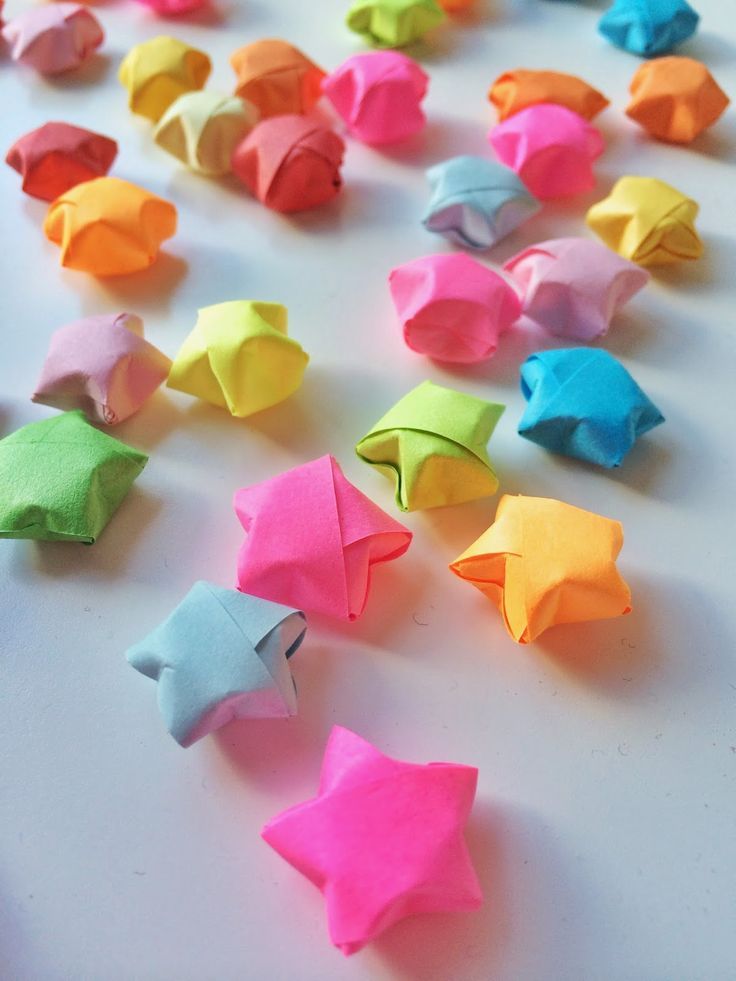
Origami, the traditional Japanese art of paper folding, can be a peaceful and creative activity for students of all ages. Making an origami mini star is a simple, fun way to engage in this craft. It’s perfect for back-to-school icebreakers or as a classroom decoration. Here’s how you can fold your own little piece of the night sky!
Materials:
– A strip of paper (about 1 cm x 28 cm)
Instructions:
1. Knot and Tuck: Begin by tying a “knot” at one end of your paper strip. Flatten the knot gently without creasing it too sharply—this is the start of your five-pointed star. There will be a small pentagon shape with a tail extending from one corner.
2. Wrap the Tail: Take the long tail and wrap it around each side of your pentagon, aligning it with the edges as you fold it around.
3. Trimming the Excess: Continue wrapping until the tail is too short to fold over. Carefully cut off any excess paper if it’s too long to tuck in.
4. Final Tuck: If there’s a little bit of the tail left, tuck it into the pocket that has been formed by your previous folds.
5. Puffing It Up: Now, using your thumbnails, start pinching each corner of the pentagon shape outward gently. This puffing action transforms the flat pentagon into a three-dimensional star.
6. Finishing Touches: Continue pinching at each corner until you have a fully puffed mini star.
And there you have it—your own origami mini star! These stars are perfect for decorating your classroom or as a personal keepsake to remind you of your goals for the new school year. Have fun making them in different colors and sizes to create a captivating constellation right at your desk!