Printing on sticky notes can be a clever way to customize your reminders, organize your planner, or make professional-looking labels. Here’s a simple guide on how to print on sticky notes:
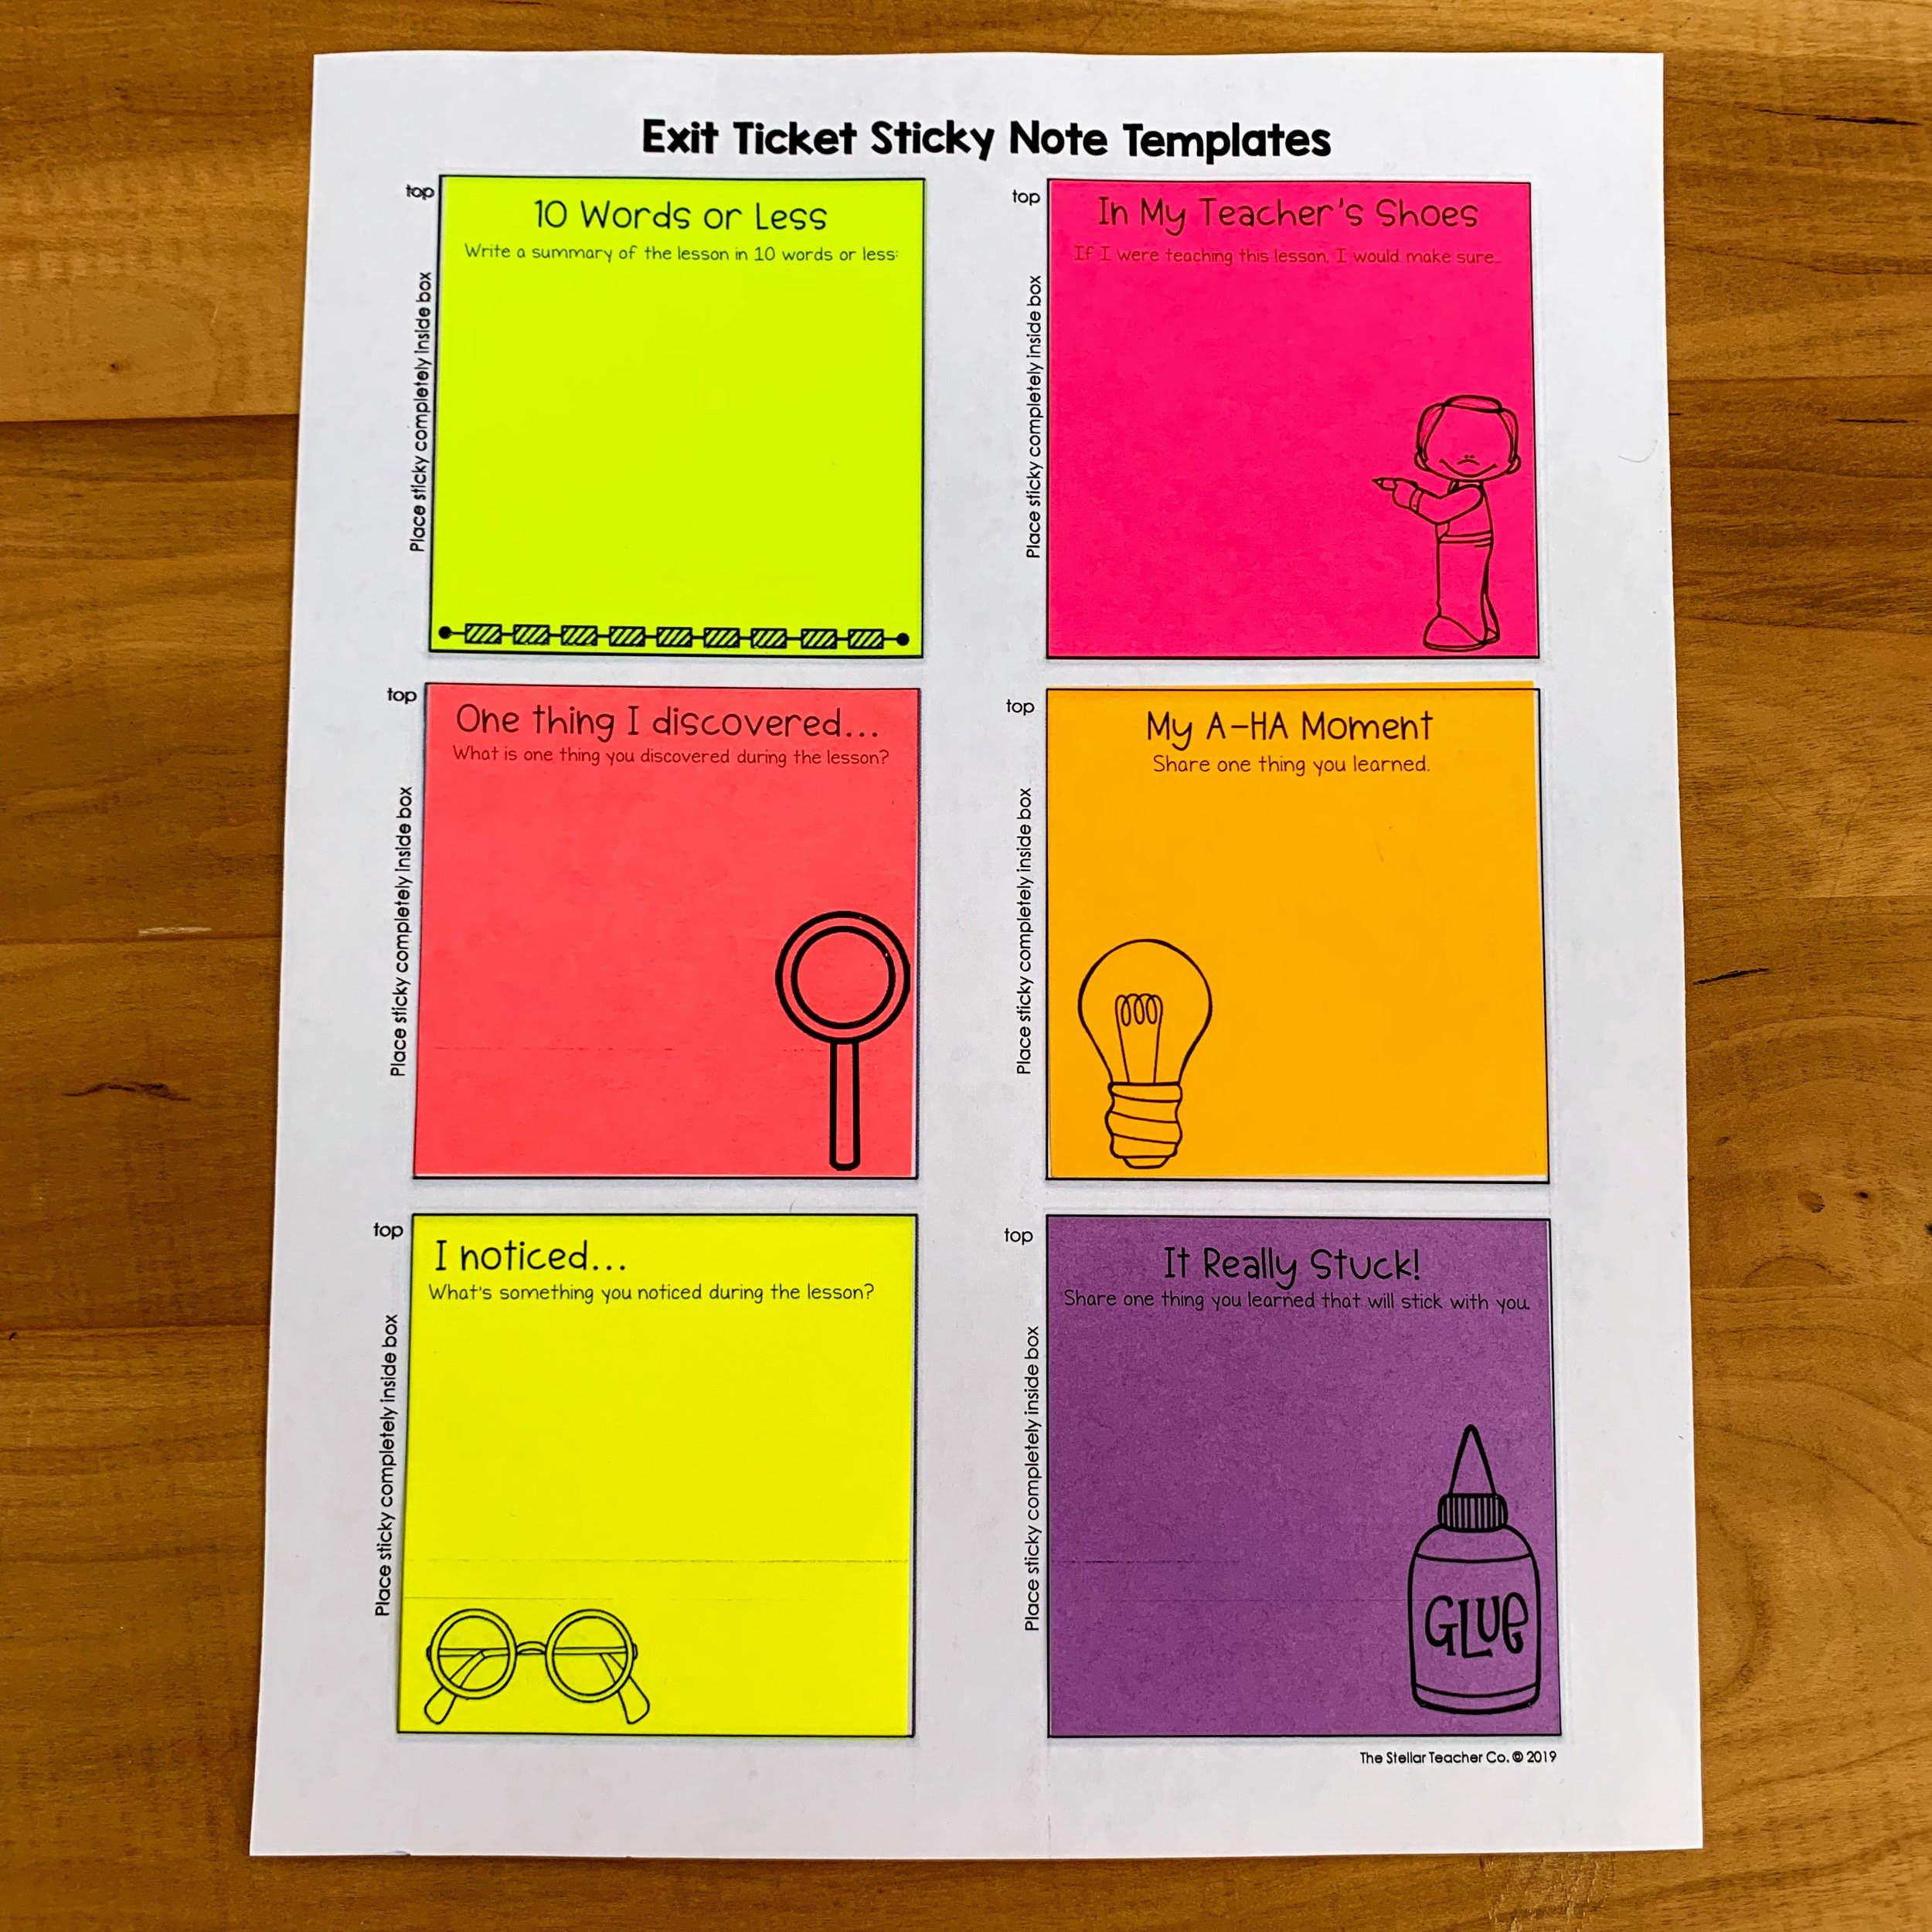
1. Create a Template: Open a word processing program like Microsoft Word or Google Docs and create a new document. Sticky notes are commonly 3 inches by 3 inches, so you may want to set up a custom page size. If you’re using regular-sized paper, draw six rectangles that match the size of your sticky notes (3×3 inches) spread out over the page with equal spacing.
2. Print the Template: Once you have your rectangles drawn, print this sheet of paper – this will serve as your template.
3. Attach Sticky Notes: Take your printed template and affix one sticky note over each rectangle with the adhesive part at the top to prevent jamming in the printer.
4. Create Your Content: Go back to your word processing program and design what you want to be printed on each sticky note within the confines of each rectangular box.
5. Print onto Your Sticky Notes: Ensure that your printer settings correspond to the type of paper and feed method that will accommodate your sticky note-laden template sheet. Once everything looks good, put your template sheet with the sticky notes into your printer tray and print.
6. Tips for Success:
– Ensure that all sticky notes are firmly attached to the template sheet and that no corners are sticking up.
– Use standard inkjet or laser printers; do not use printers that feed paper using rollers, as this could cause a jam.
– Always run a test print with one sticky note before printing multiple to check for alignment and printer compatibility.
– If printing multiple pages, wait a few seconds between sheets to prevent any smudging.
Enjoy creating your custom-printed sticky notes!