Introduction:
As technology keeps advancing, the market is constantly flooded with newer and better smartphones. But even though newer models keep emerging, some classics remain as popular choices for users. One such classic is the iPhone X. Originally released in 2017, it continues to be a great buy in 2023, and here’s why:
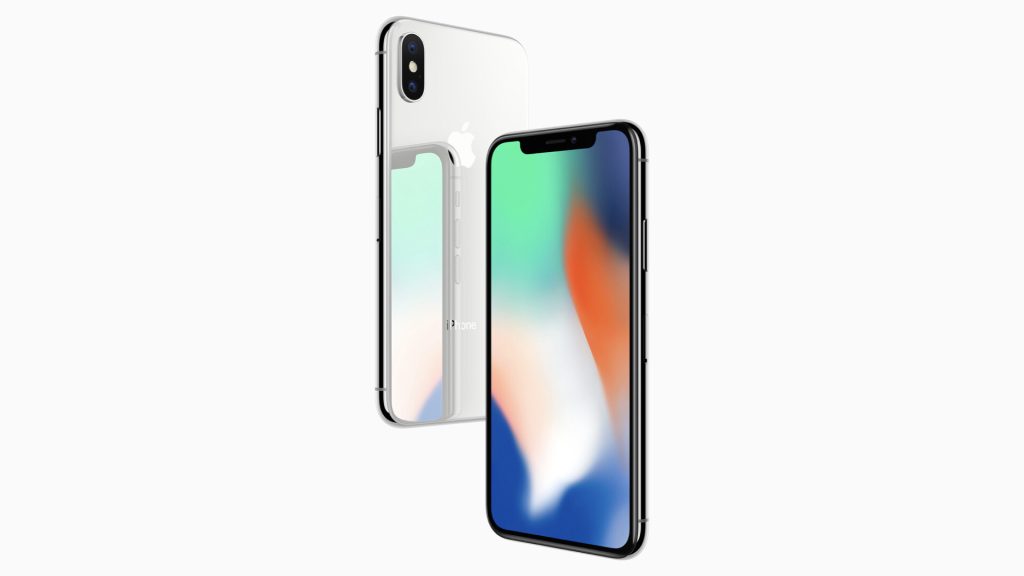
1. Timeless design:
The iPhone X introduced a radical change in design featuring the now-iconic edge-to-edge screen and no home button. Its bezel-less style has aged gracefully, maintaining its sleek appeal in the modern phone market.
2. Consistent performance:
Despite being several years old, the iPhone X continues to deliver impressive performance. With Apple’s A11 Bionic chip, it can still keep up with daily tasks and runs iOS smoothly.
3. Regular software updates:
Apple is known for providing long-term software support for their devices. iPhone X users can be assured of receiving consistent updates, thus keeping their phones secure and up-to-date with the latest features.
4. Dual camera system:
The iPhone X boasts a dual-camera setup which includes a 12MP wide-angle lens and a 12MP telephoto lens, enabling users to capture quality photographs and videos even years after its release.
5. Face ID technology:
As the first iPhone model to introduce Face ID facial recognition technology, the iPhone X
provides solid security features for users who prioritize privacy.
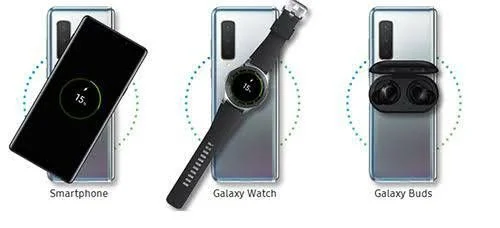
6. Wireless charging capability:
Compared to other devices at its age, the iPhone X supports wireless charging with any Qi-compatible charger. This future-proof feature allows for convenient charging experience without grappling with cords.
7. More affordable price:
Since newer models have been released, including those from the iPhone 13 lineup, the iPhone X’s price has gone down, making it a relatively affordable option for those keen on obtaining an Apple smartphone without breaking the bank.
8. Eco-friendliness:
Buying a used iPhone X contributes to reducing the impact on the environment by prolonging its device life cycle and delaying its disposal as e-waste.
Conclusion:
With its blend of classic design, reliable performance, and continued support through software updates, the iPhone X has stood the test of time. Its range of features combined with its affordability makes it an attractive choice for those looking to invest in a reliable smartphone without breaking the bank. So if you’re on the fence about which phone to purchase, consider giving the iPhone X a second look – we’re sure it’ll give you great value for your money.