Pedagogue Blog

How to Stop Tattling in the Classroom: Expert Teacher Tips

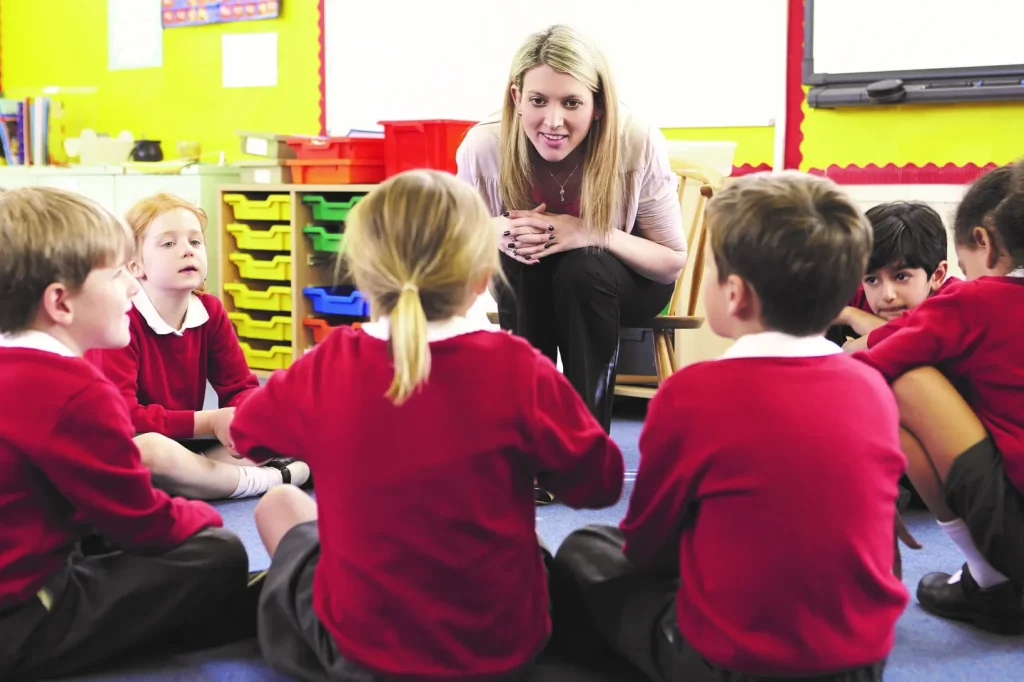
Tattling in the classroom can disrupt the learning environment and create a negative atmosphere among students. To help curb this behavior, expert teachers suggest the following strategies:

Establish Clear Classroom Rules: At the beginning of the school year, set clear expectations about tattling. Define what constitutes tattling versus reporting serious issues. Children should understand that while it’s important to report bullying or dangerous behavior, minor issues can often be solved without involving an adult.

Teach Conflict Resolution Skills: Empower your students with the skills to handle minor conflicts independently. Role-playing scenarios and discussing possible solutions can prepare them for real-life situations. This not only reduces tattling but also fosters problem-solving skills.

Create A “Tattle Box”: To manage unnecessary tattling, incorporate a “Tattle Box” where students can write down their concerns. This allows you to address issues privately and determine if any further action is needed, while also discouraging frivolous complaints made in the heat of the moment.

Praise Desirable Behaviors: Reinforce positive behavior by praising students who handle situations maturely without resorting to tattling. This encourages others to emulate such behaviors and demonstrates the value you place on direct, respectful communication.

Implement A Peer Mediation Program: Older students can be trained as mediators to help younger peers resolve conflicts. This approach gives children a sense of responsibility and fosters leadership skills in mediators.

Use Literature And Stories: Introduce books that deal with tattling and discuss them in class. Stories can be powerful tools for illustrating the consequences of tattling and teaching lessons about trust and friendship.

Encourage Empathy: Help students understand how their actions affect others by discussing feelings and empathy. When children grasp how tattling might make their peers feel, they may think twice before doing so.

Hold Regular Class Meetings: Having a dedicated time for students to share concerns and propose solutions promotes open dialogue and community building, reducing the need for individual students to tattle.

By implementing these expert tips, teachers can significantly reduce tattling behaviors in their classrooms, leading to a more harmonious learning environment where students feel comfortable and empowered to resolve minor issues on their own.
How to Stop Tattling in the Classroom: Expert Teacher Tips

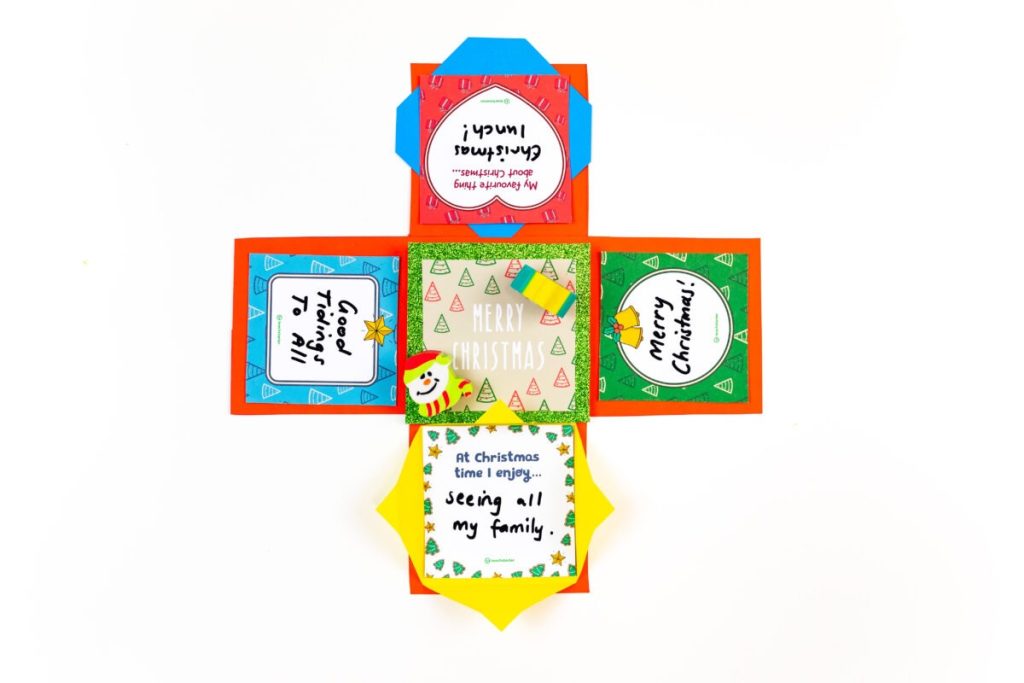
The holidays are a time for giving, and what better way to showcase your creativity than with a handmade Christmas Explosion Box? This delightful surprise box opens up to reveal multiple layers of decorative squares, each more enchanting than the last. Here’s how you can craft your own festive explosion box using various square templates.

 Materials Needed:

– Cardstock in Christmas colors (red, green, gold, etc.)

– Decorative paper (with holiday motifs)

– Scissors and/or a craft knife

– Ruler

– Glue or double-sided tape

– Embellishments (stickers, ribbons, sequins, etc.)

 Instructions:

1. Base Layer Squares:

– Begin with four large squares of cardstock for the base layer. These should be sized equally.

– Score each square in half diagonally and fold to create strong creases.

– Unfold and glue these squares together at their edges so they reconnect as a larger square when opened.

2. Second Layer Squares:

– Cut four slightly smaller squares from different colored cardstock.

– Decorate these with stamped images, stickers, or by gluing on holiday-themed paper cutouts.

– Fold and attach to the base layer on each side so they open out when the main square is unfolded.

3. Decorative Middle Layer:

– Use patterned paper to craft this layer. Cut four squares that are smaller than the second layer.

– Consider adding photos or personalized messages on this layer.

– Attach them in a similar fashion to the prior layers ensuring smooth opening.

4. Central Square Surprise:

– Create a small gift box or central feature that will be revealed upon opening all layers.

– Embellish this central square with glitter, bows, or any preferred decoration.

5. Lid Creation:

– Measure and cut a piece of cardstock that can form a lid over your explosion box. It should have flaps that can be folded down and tucked over the sides of the base layers.

6. Final Touches:

– Finish off your explosion box by attaching ribbons or twine that will hold the box closed.

– You may also add additional decorations such as bells or holly sprigs to the lid for extra festive flair.

Creating an explosion box is all about layering elements and personal touches. Choose colors that resonate with traditional Christmas hues or mix it up with unconventional palettes for a modern twist. With every opened layer revealing another aspect of your artistic flare, an explosion box is sure to bring joy and wonder to anyone receiving it this holiday season.

Australian Gold Rush Unit Plan

The Australian Gold Rush played a significant role in shaping the country’s cultural and economic landscape. The discovery of gold in the 1850s propelled Australia onto the international stage, bringing a influx of migrants and economic prosperity. A unit plan centered around the Australian Gold Rush can yield a rich exploration of history, geography, economics, and social studies for students.

The key components of an Australian Gold Rush Unit Plan would include:

1. Lesson Objectives

– Understand the historical context and significance of the Australian Gold Rush.

– Analyze the impact of the gold rush on Australia’s development.

– Examine the experiences of different social groups during this period.

– Assess the environmental impact of gold mining activities.

2. Introduction to the Gold Rush

– A brief background about global gold rushes.

– Initial discoveries of gold in Australia and subsequent rushes.

3. The Impact on Indigenous Populations

– The effects on Aboriginal lands and societies.

– Conflicts and displacement due to mining.

4. Migrant Stories

– Waves of immigration and the cultural melting pot.

– Personal accounts of those who traveled to Australia to seek their fortune.

5. Life on the Goldfields

– Daily life, work, and leisure activities during the gold rush.

– The establishment of boomtowns and their eventual decline.

6. Economic Consequences

– How the gold rush changed Australia’s economy.

– The introduction of new trade routes and businesses.

7. Law and Order

– The development of regulatory frameworks in response to mining activities.

– Notable events such as Eureka Stockade rebellion.

8. Environmental Considerations

– The impact on landscapes from mining practices.

– Contemporary issues related to historical mining sites.

9. Legacy of the Gold Rush

– Ongoing influence on Australian identity.

– Connections between past and present in regions affected by the rush.

10.Activities & Assessments

– Research projects on individual stories or specific regions affected by the gold rush.

– Role-playing exercises recreating life on the goldfields or pivotal historic events.

– Field trips to local museums or historical sites related to the gold rush.

– Creative writing assignments imagining life during this era.

– Debates concerning issues such as wealth distribution, immigration policy, and indigenous rights during that time.

11.Resources

– Primary source documents from the period (newspaper articles, diaries, letters).

– Maps showing goldfield locations and migration patterns.

– Artwork depicting life during the Australian Gold Rush.

The unit should encourage critical thinking about how a single discovery can transform a nation economically, socially, culturally, and environmentally. It challenges students to consider multiple perspectives—from indigenous peoples to immigrants—and reflect upon long-term impacts not only on human society but also on natural landscapes.

Environmentally Friendly Ways to Clean Your Classroom

In the age of sustainability, environmentally friendly practices are no longer a trend but a necessity. When it comes to education, a clean and healthy classroom is crucial for both the teachers and students. However, many of the conventional cleaning methods rely on chemicals that can be harmful to both the environment and humans. Adopting green cleaning methods can reduce this harm while maintaining a hygienic learning environment. Here are several ways you can clean your classroom that are safe for the earth and its inhabitants.

1. Utilize Natural Cleaning Agents

Instead of using chemical-laden commercial cleaners, opt for natural alternatives like vinegar, baking soda, lemon juice, or essential oils. These substances are biodegradable and non-toxic, making them safe for children and adults alike. For instance, vinegar mixed with water is an excellent all-purpose cleaner that can be used on desks and countertops.

2. Microfiber Cloths over Paper Towels

Microfiber cloths can effectively pick up dust and dirt without the need for chemical sprays. These cloths are reusable, reducing waste from disposable paper towels that contribute to deforestation and pollution from manufacturing processes.

3. Implement Recycling Procedures

Encourage students to recycle by having separate bins for paper, plastic, glass, and metal. Educate them about the importance of recycling and how it reduces the need for raw materials, conserves energy, and decreases pollution.

4. Green Seal Certified Products

If you must purchase cleaning products, look for items that have been certified by Green Seal or similar organizations that indicate they meet environmental standards for health and sustainability.

5. Natural Air Fresheners

To keep your classroom smelling fresh without aerosol sprays, consider using plants as natural air purifiers or use essential oil diffusers with oils like lavender or eucalyptus that have innate antimicrobial properties.

6. Involve Students in Green Practices

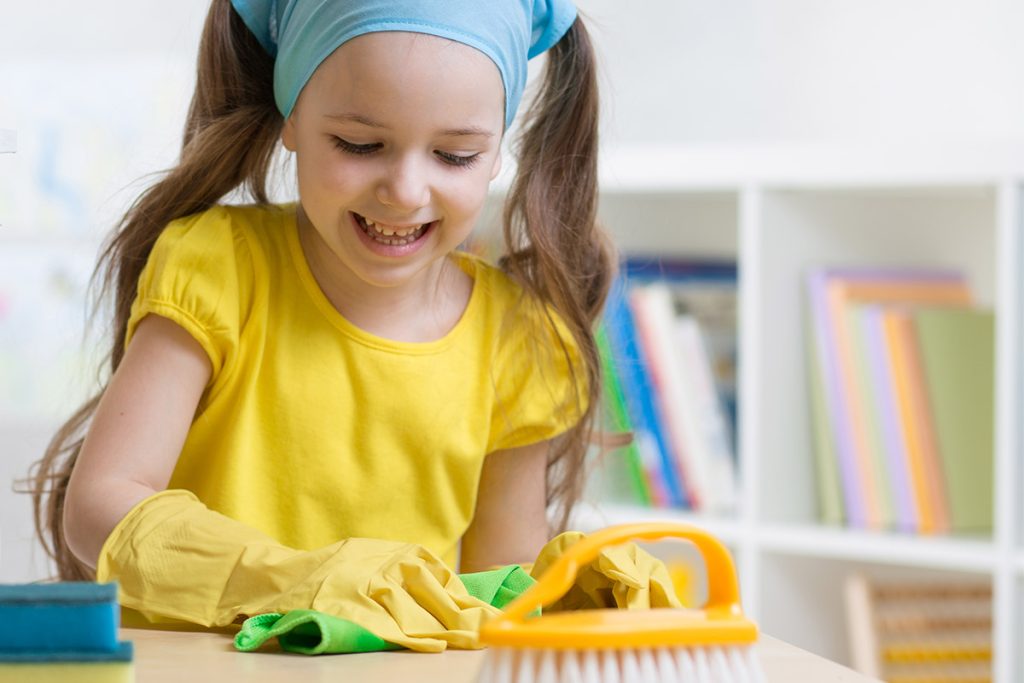
Integrate environmental education into your classroom by involving students in green practices. Assign tasks like watering plants or organizing recycling bins, which fosters responsibility and awareness about living sustainably.

7. Avoid Disposable Cleaning Wipes

While convenient, disposable wipes create unnecessary waste and often contain chemicals harmful to the environment. Reusable cloths with natural disinfectants can serve as an effective alternative.

8. Use Steam Cleaners

A steam cleaner uses high-temperature steam to remove dirt and grime without any chemicals. This method kills bacteria naturally and is safe on most surfaces including floors, tiles, and fixtures.

By making simple changes to our cleaning routines, we can significantly reduce environmental harm while providing a safe atmosphere conducive to learning. It’s time we bring eco-friendly practices into our classrooms, teaching the next generation the importance of preserving our planet through our daily choices.

These Memorial Day Activities for Kids Are Teacher Tested + Approved

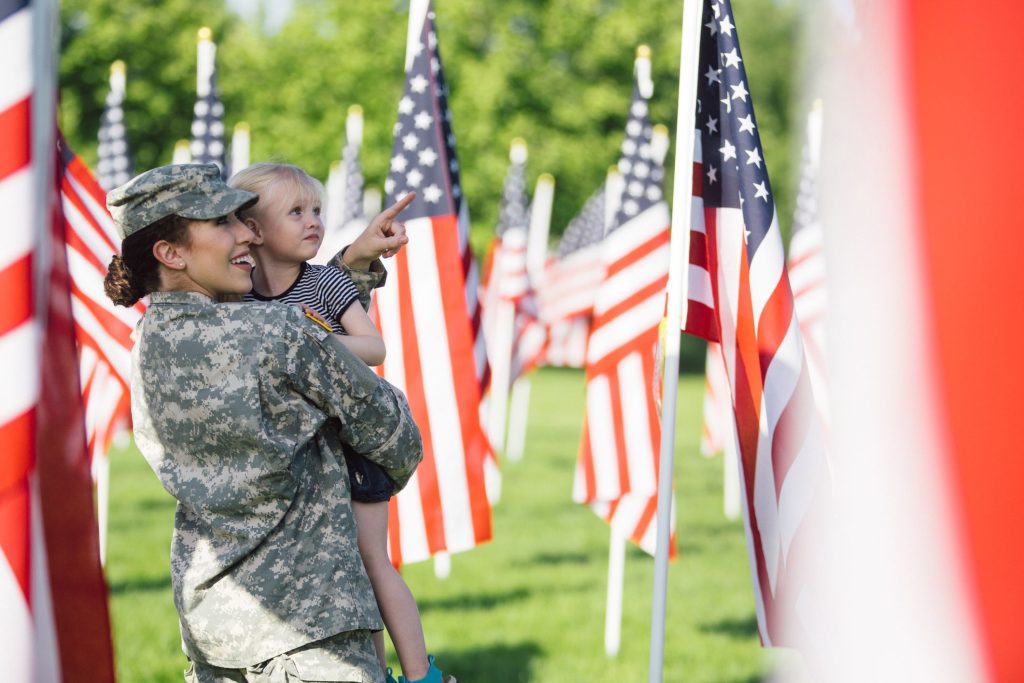
Memorial Day is a time to honor and remember the men and women who have served and sacrificed for their country. While it is a somber occasion, it is also an opportunity to teach children about the importance of service, patriotism, and community. Educators often look for ways to engage children in meaningful activities that are age-appropriate, sensitive, and educational. Here are several Memorial Day activities for kids that are teacher tested and approved:

1. Crafting Memorial Day Poppies

Red poppies are a symbol of remembrance and can be an easy craft project for kids. With some red tissue paper, black buttons, and green pipe cleaners, kids can create their own poppies while educators explain the significance behind them.

2. Thank You Letters to Veterans

Encouraging children to write thank-you letters to veterans teaches them to express gratitude and recognize the sacrifices made by military personnel. This activity not only fosters respect but also helps with writing skills.

3. Creating a Memory Wall

A classroom or community center can become an engaging space to learn about history by creating a memory wall. Kids can bring pictures or write stories about family members or community members who have served in the military.

4. Visiting Local Monuments or Cemeteries

Many communities have local monuments or cemeteries dedicated to fallen soldiers. A visit to these sites can be a powerful educational experience, teaching kids about history, sacrifice, and honoring those who served.

5. Parade Participation

If your town holds a Memorial Day parade, participating in or attending it can be an excellent opportunity for children to see a living aspect of tradition and remembrance in action.

6. Flag Etiquette Lessons

Teach kids how to properly handle and fold the American flag as a mark of respect and as part of understanding national symbols.

7. Patriotic Song Sing-along

Songs like “The Star-Spangled Banner” or “America the Beautiful” can be taught to children as a way of celebrating patriotism through music.

8. Historical Reenactments or Plays

Putting on small plays that touch on significant historical events can make learning fun and memorable.

9. Service Projects

Participating in service projects such as cleaning up veterans’ gravesites, planting flags, or assisting veteran organizations actively involve children in giving back.

10. Educational Videos & Stories

Show educational videos or tell stories that talk about Memorial Day’s importance in an age-appropriate way so children understand why we commemorate this day.

Each activity presents an opportunity to reflect on courage while developing personal values like respect, kindness, and citizenship—ideal lessons that align well with educational goals while keeping the spirit of Memorial Day alive for the younger generation.

Number Lines Teaching Resources

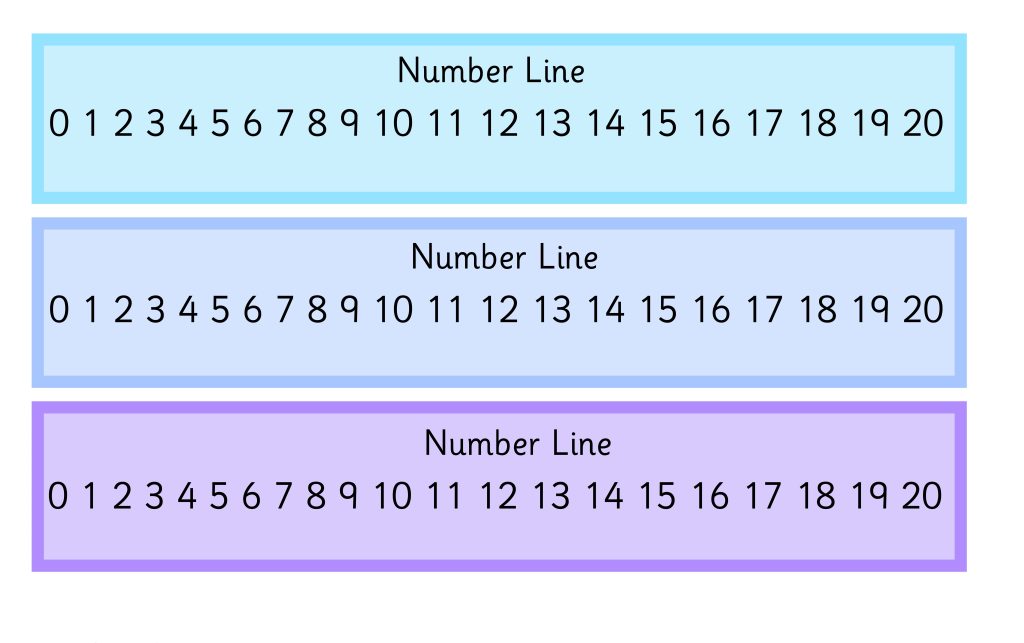
Teaching the concept of number lines is pivotal in mathematics education, providing a visual representation for students to understand numerical value, order, and scale. Number lines can be used across a range of mathematical topics including addition, subtraction, multiplication, division, and understanding negative numbers and fractions.

One effective resource for teaching number lines is interactive number line activities. These can be both digital apps or physical materials where children can physically place numbers or markers on a line. They help students visualize number sequences and understand the distance between numbers.

Printable worksheets are another essential resource. Worksheets can offer exercises where students label parts of a number line, plot given numbers, or solve problems using the number line as a tool. For young learners, worksheets with fun themes or characters can make the learning process more engaging.

Another important teaching tool is the classroom number line display. A large, prominently displayed number line gives students a constant visual reference point. It can be used during lessons to demonstrate concepts or serve as an independent learning aid.

Games incorporating number lines also aid in reinforcing concepts in an enjoyable manner. For instance, ‘hopping’ games where students jump along a floor number line to reach the correct answer combine physical activity with learning, which can be particularly beneficial for kinesthetic learners.

Manipulatives like counters or movable arrows allow hands-on experience with number lines. Students benefit from physically moving these items along the number line to represent operations like addition and subtraction.

Lastly, storybooks that incorporate concepts of counting and measurement can contextualize number lines in everyday life. Stories involving characters using number lines to solve problems can help cement the practicality of this mathematical tool.

For teachers looking to diversify their teaching resources on number lines, incorporating a mix of these tools can cater to different learning styles and enhance comprehension across all student abilities.

Why You Should be Teaching Mindfulness to Improve Student Learning

In recent years, mindfulness has emerged as a vital tool in education to enhance the learning experience and improve student outcomes. Here are several reasons why incorporating mindfulness into the classroom can be beneficial for students:

1. Enhanced Focus and Concentration: Mindfulness teaches students to concentrate on the present moment, which can lead to better focus in their studies. This deliberate focus can reduce distractions and improve the capacity to absorb new information.

2. Stress Reduction: School can be stressful, with deadlines and exams causing anxiety. Mindfulness practices can help students cope with stress by promoting relaxation and encouraging a calm mind.

3. Improved Emotional Regulation: By becoming more aware of their thoughts and feelings through mindfulness, students can learn to manage their emotions more effectively. This emotional intelligence is crucial for navigating social interactions and academic pressures.

4. Increased Resilience: Through mindfulness, students can build resilience by understanding that setbacks are temporary. This mindset is particularly valuable in education where challenges are frequent.

5. Enhanced Academic Performance: Studies have shown that mindfulness can contribute to academic success. A calm and focused mind allows for improved memory retention and cognitive functioning.

6. Better Classroom Environment: Mindfulness can promote a sense of community and empathy among students, leading to a more collaborative and supportive classroom atmosphere.

7. Long-term Health Benefits: The benefits of mindfulness extend beyond school; it can also lead to long-term health improvements like reduced blood pressure and improved immune function.

Educators looking to enhance learning should consider integrating mindfulness exercises into their curriculum. Whether it’s through guided meditation, breathing exercises, or simply teaching students to be present, these tools can make a significant difference in student learning outcomes.

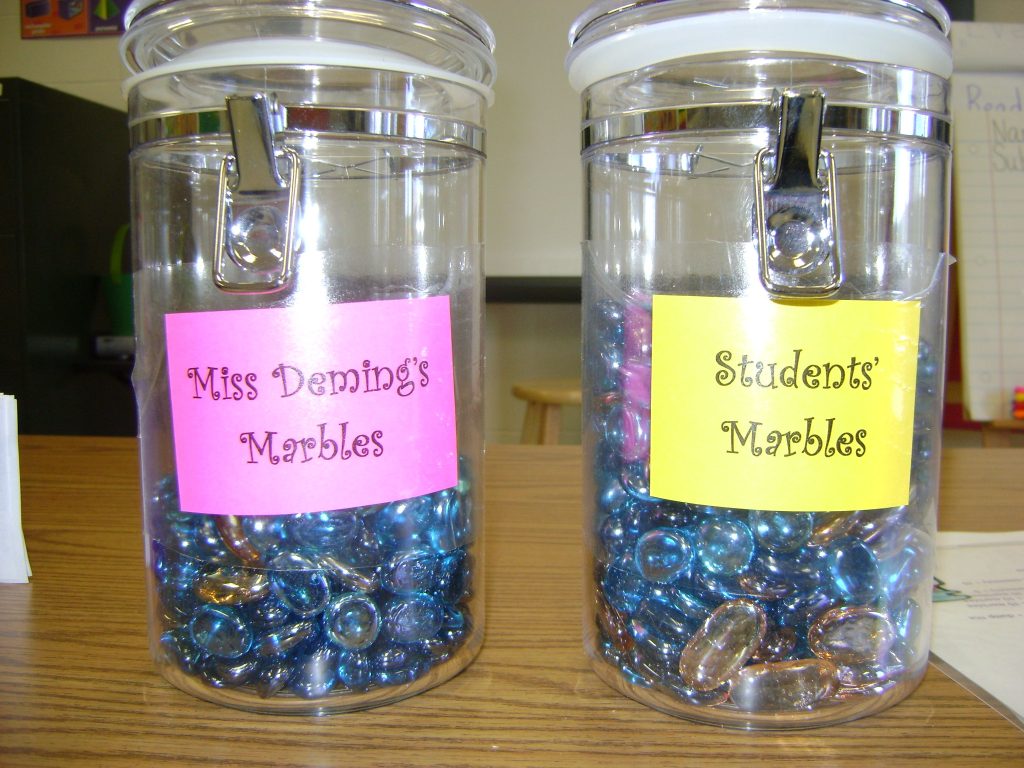
Marble Jar Reward System for the Classroom: How to Keep Things Positive

A Marble Jar Reward System is an effective and visual tool that teachers can use to promote and reinforce positive behavior in the classroom. The beauty of this system lies in its simplicity and the excitement it generates among students. The basic premise involves a clear jar and a collection of marbles. Each time the class as a whole demonstrates positive behavior, such as listening attentively, helping one another, or completing tasks, the teacher adds a marble to the jar. Conversely, if the class exhibits negative behavior, the teacher can remove a marble.

The goal for the students is to fill the jar with marbles, at which point they are rewarded collectively with a pre-decided treat or privilege. This may include extra playtime, a movie day, or a small party. The immediate visual feedback of seeing marbles added to the jar provides instant recognition for good conduct and also serves as a motivator for continued positive behavior.

Implementing a Marble Jar Reward System encourages teamwork and collective responsibility. Since rewards are based on the group’s behavior rather than individual achievements, it teaches students that they succeed together by working cooperatively. This fosters an environment where students actively encourage each other to follow rules and behave appropriately.

Moreover, this approach can be custom-tailored to meet any classroom’s unique dynamic by allowing for adjustments in how many marbles are required to fill the jar or how marbles can be earned or lost. It also presents an opportunity for teachers to discuss with their students what behaviors are expected and why they are essential, promoting open communication and understanding.

In conclusion, a Marble Jar Reward System in the classroom acts not just as an incentive program but also as an educational tool that promotes positive behavior through collective efforts, improves student-teacher relationships, and instills valuable life skills such as teamwork and goal-setting.

7 Ways to Create an Interactive Classroom Display

Creating an interactive classroom display can transform the learning experience and engage students in a unique and educational way. Here are seven creative ways to make your classroom displays more interactive:

1. Touch and Learn Walls: Convert a segment of your classroom wall into a touch and learn area. Use materials like felt, Velcro, or magnetic boards to create pieces that children can move around to match, solve puzzles, or even form sentences related to the subject matter.

2. QR Codes for Discovery: Integrate technology by including QR codes on your displays that link to educational videos, audio clips, or further reading materials. Students can use tablets or smartphones to scan the codes and embark on a self-guided learning adventure.

3. Reality Meets Virtual: Augmented reality (AR) apps can bring displays to life. Whether it’s a historical figure giving a speech or a 3D model of the solar system where planets can be explored, AR adds a thrilling dimension to education.

4. Interactive Whiteboards: Turn digital presentations into collaborative efforts by using interactive whiteboards. Students can contribute by showing their work, answering questions in real-time, or moving digital objects.

5. Feedback Stations: Encourage students’ thoughts and reflections by setting up feedback stations with sticky notes or digital comment boards near your displays. This not only fosters engagement but also allows for peer-to-peer teaching and learning.

6. Thematic Learning Corners: Designate areas of the classroom for specific themes that are relevant to what you’re currently teaching. These corners can include games, task cards, and role-play scenarios that require student interaction for solving problems or creating projects.

7. Rotating Student Curators: Involve the class in the creation and management of the displays by assigning ‘curator’ roles to different students each week or month. Let them decide which work gets showcased, come up with themes, or even design activities for their peers related to the display content.

These interactive strategies not only make learning more dynamic but also cater to various learning styles which help keep all students motivated and engaged in their educational journey.

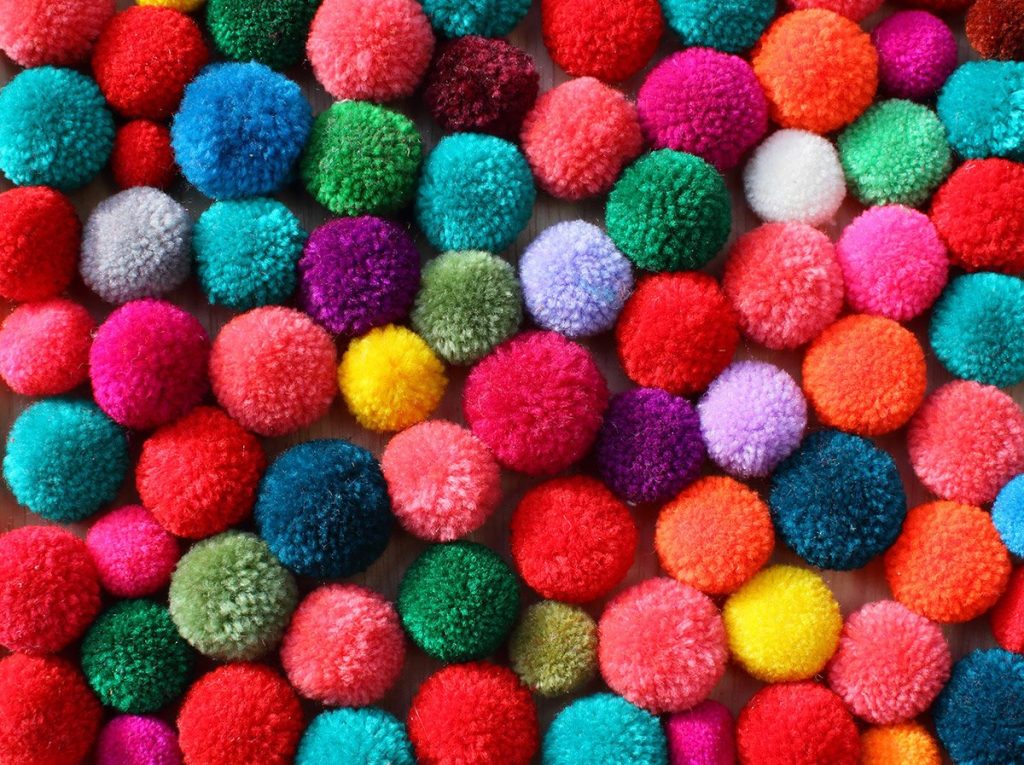
10 Ways to Use Pom Poms in the Classroom

Pom poms are not just for cheerleading and crafts; they can be used as versatile teaching tools in the classroom. Their bright colors, soft texture, and versatility make them an excellent resource for educators. Here are ten creative ways to use pom poms in your classroom:

1. Counting and Math Skills:

Pom poms can be a tactile way for students to learn counting, addition, subtraction, and even multiplication. Teachers can assign different point values to different colored pom poms for math games.

2. Color Sorting:

Develop early childhood skills by having students sort pom poms by color. This can help them learn to identify and categorize different colors.

3. Fine Motor Skills Practice:

Using tweezers or tongs to pick up pom poms and move them into containers is a great exercise for improving fine motor skills among young learners.

4. Creative Writing Prompts:

Get creative with language arts by using pom poms to represent plot elements – characters, setting, problem – which students can organize before writing a story.

5. Textured Art Projects:

Pom poms can be glued onto paper or other mediums to create textured art projects that students will love to touch and feel.

6. Sensory Bins:

Create sensory bins with pom poms of various sizes and textures. These bins are not only fun but also stimulate sight, touch, and can even be used for smell if they are scented!

7. Physics Experiments:

Showcase scientific principles with pom poms by creating simple experiments that demonstrate motion, forces, and energy transfer.

8. Reward System:

Use pom poms as a physical token reward system for positive behavior or accomplished tasks in the classroom.

9. Team-Building Exercises:

Divide students into teams and have them compete in relay races or other challenges where they must transport pom poms without using their hands – fostering teamwork and communication skills.

10. Music and Rhythm Games:

Incorporate pom poms into music class by using them as props for rhythm games or as makeshift shakers, adding an element of fun while learning about tempo and beat.

By integrating these fluffy spheres into learning activities across various subjects, teachers can offer a multisensory experience that is both educational and engaging for students of all ages.

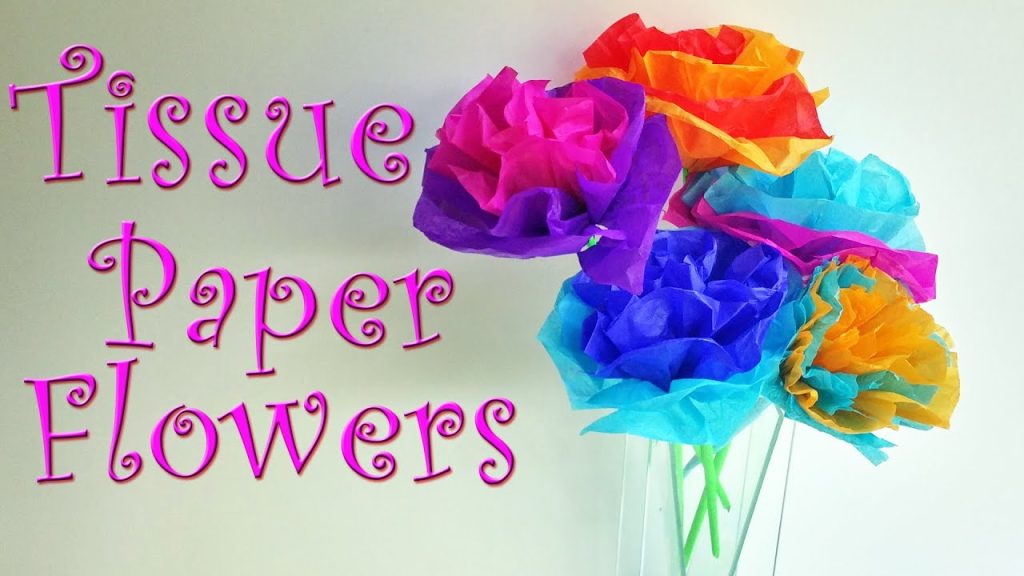
Paper-Towel Roses | Flower Craft for Kids

Engaging children in creative activities not only sparks their imagination but can also develop their motor skills and appreciation for art. One interesting project that combines artistry with everyday household items is making paper-towel roses. This craft is simple, enjoyable, and results in beautiful flowers that won’t wilt! Ideal for a rainy day, a themed party activity, or just whenever your kids are feeling crafty, this guide will walk you through how to create your very own bouquet of paper-towel roses.

 Materials Needed

– Paper towels

– Food coloring or washable paint

– Water

– Scissors

– Green pipe cleaners (for stems)

– A small vase or cup for the final display (optional)

 Step-by-Step Instructions

1. Prepare the Colors: If you’re using food coloring, mix it with a little bit of water in separate bowls for each color you plan to use. For paint, dilute it with water until it’s a watery consistency.

2. Color the Paper Towels: Have the kids dip the paper towels into the colors they prefer. They can fully submerge them for a solid-colored rose or just dip edges to create a multicolored effect.

3. Dry the Paper Towels: Lay out the colored paper towels to dry. To speed up this process, you might want to use a hair dryer set on low heat.

4. Cut Petal Shapes: Once dry, fold the colored paper towels several times so you can cut multiple petal shapes with one snip. They don’t have to be perfect; irregular shapes make for more realistic roses.

5. Make the Stem: Take a green pipe cleaner and fold it in half to increase its strength and provide a better base for attaching the petals.

6. Assemble the Rose: Wrap the first petal tightly around one end of the folded pipe cleaner, then continue adding petals around it, securing them by twisting bits of the petal bottoms around the pipe cleaner stem.

7. Finishing Touches: Fluff out the petals until you’re happy with how full your rose looks.

8. Display Your Creation: Once you’re done assembling your rose, you can place it in a small vase or cup or create more roses to form a colorful bouquet.

 Safety Tips

– Be sure that small children are supervised when using scissors.

– Non-toxic materials like food coloring and washable paint are recommended so that they’re safe for all ages.

– To prevent stains, cover your work area with old newspapers or plastic tablecloths.

 Learning Opportunities

While creating these paper-towel roses, parents can discuss how real flowers grow and thrive, pointing out similarities with their craft such as the petals and stems. It’s also an ideal moment to talk about colors and how mixing them can result in new shades – perfect for young ones learning about primary and secondary colors!

To sum up, crafting paper-towel roses is not only an accessible art project for children but also an educational opportunity suitable for various age groups. It’s an excellent way to encourage creativity and can be modified in numerous ways: add sparkle with glitter glue, create patterns before dyeing your paper towels, or even use these adorable creations as thoughtful homemade gifts. Let your imagination bloom alongside your splendid paper-towel roses!

12 Ways to Improve Student Concentration That Really Work

Student concentration is a critical factor in educational success, and improving it can lead to better learning outcomes. Here are twelve ways that have been proven effective in enhancing student concentration:

1. Organized Study Space: Clutter-free and organized study areas help minimize distractions, enabling students to focus better on their tasks.

2. Scheduled Breaks: Following the Pomodoro Technique or similar methods, where short breaks are taken after focused study sessions, can increase overall concentration levels.

3. Goal Setting: By setting clear, achievable goals for each study session, students can stay motivated and concentrated on the task at hand.

4. Nutrition: A well-balanced diet that includes brain-boosting nutrients like omega-3 fatty acids can enhance cognitive function and concentration.

5. Mindfulness and Meditation: Regular practice of mindfulness exercises and meditation can improve focus, attention span, and emotional regulation, contributing to better concentration.

6. Regular Physical Activity: Exercise increases blood flow to the brain and reduces stress, both of which are essential for maintaining high levels of concentration.

7. Adequate Sleep: A regular sleep schedule with sufficient hours of quality sleep is crucial for cognitive functions including concentration.

8. Management of Distractions: Identifying potential distractions before they occur and creating strategies to manage or eliminate them helps maintain a concentrated state of mind.

9. Active Learning Techniques: Engaging with the material through discussion, teaching others, or applying it in practical ways can deepen focus and understanding.

10. Use of Study Aids: Tools such as flashcards, diagrams, or educational software can help maintain engagement and concentration on the study material.

11. Positive Reinforcement: Rewarding oneself after achieving study goals can boost motivation and focus for future tasks.

12. Technology Boundaries: Establishing specific times when technology is permitted can help prevent the constant notifications from disrupting focus during study time.

Implementing these strategies can significantly improve student concentration levels which will lead to more effective learning and better academic performance overall.

Latest Posts